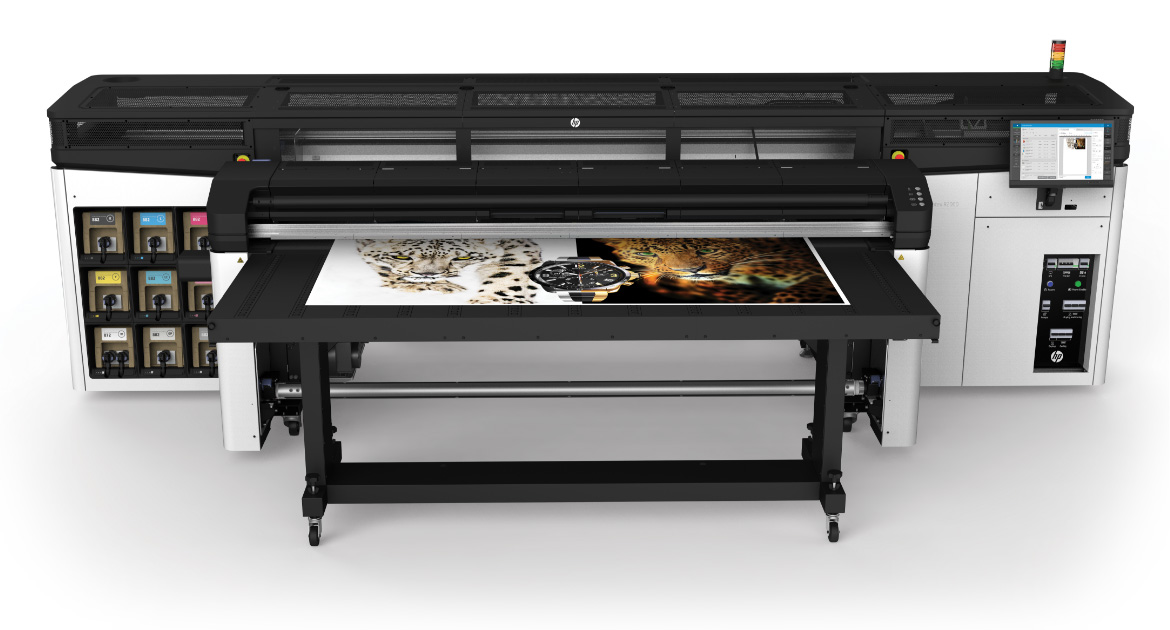
Achieving crisp, professional results with latex printers depends on more than just the printer model or ink quality. One of the most critical factors is selecting the best resolution for latex printing based on your specific project needs. The right settings ensure that graphics, text, and images appear sharp, colors stay vibrant, and your prints meet the expectations of even the most discerning clients.
This guide covers how to determine optimal resolution settings for various latex print applications, what affects print sharpness, and how to avoid common pitfalls. Whether you’re producing banners, canvas art, wallpapers, or textiles, understanding these principles will help you get the most out of your latex printer.
For those focusing on specific applications, such as latex printing for banners, it’s important to tailor your settings to the material and viewing distance. This article will also reference other specialized latex printing guides to help you optimize for different substrates and use cases.
Understanding Resolution in Latex Printing
In digital printing, resolution is typically measured in dots per inch (DPI) or pixels per inch (PPI). DPI refers to the number of ink dots a printer can place within an inch, while PPI relates to the digital image’s pixel density. For latex printers, both values matter: your source file’s PPI and the printer’s output DPI work together to determine final sharpness.
Latex printers are designed to handle a wide range of resolutions, but using the highest possible setting isn’t always necessary—or even desirable. The ideal value depends on the type of print, the material, and how closely the finished product will be viewed.
Recommended Resolution Settings for Different Applications
Choosing the best resolution for latex printing means matching your settings to the job. Here’s a breakdown of common print types and their optimal resolution ranges:
- Banners and Large Format Signage: For prints viewed from a distance (e.g., outdoor banners), 100–150 DPI at final size is usually sufficient. Higher settings may not be noticeable and can slow down production.
- Posters and Indoor Displays: For closer viewing, aim for 150–200 DPI. This ensures text and graphics remain clear without excessive file sizes.
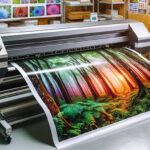
- Fine Art, Canvas, and Photography: When detail is critical, such as with printing on canvas with latex printer, use 200–300 DPI. This provides the sharpest results for close inspection.
- Wallcoverings and Wallpapers: For interior graphics, 150–200 DPI is generally recommended. For more on this, see latex printing on wallpaper.
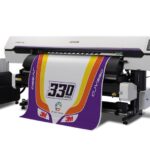
- Textiles and Fabrics: For textiles, such as apparel or soft signage, 150–200 DPI strikes a good balance between quality and speed. For more details, refer to printing on fabrics with latex inks and printing on textiles with latex printers.
Factors That Influence Print Sharpness
While resolution is a key factor, several other elements affect the clarity and quality of latex prints:
- Source File Quality: Always start with high-resolution images. Upscaling low-res files rarely produces sharp results.
- Material Texture: Rough or textured substrates can diffuse ink dots, reducing perceived sharpness. Adjust your resolution upwards for heavily textured materials.
- Printer Calibration: Regularly calibrate your printer and monitor to ensure color accuracy and sharpness. Using a monitor calibrator can help maintain consistency from screen to print.
- Viewing Distance: The farther away a print is viewed, the lower the required resolution. For close-up applications, prioritize higher settings.
- Print Speed vs. Quality: Higher resolutions often mean slower print speeds. Balance your need for speed with the desired quality.
How to Set Up Your Files for Maximum Sharpness
Preparing your artwork correctly is essential for achieving the sharpest latex prints. Here are some practical steps:
- Design at Final Size: Create your files at the actual print dimensions, using the recommended PPI for your application.
- Use Vector Graphics When Possible: Logos and text in vector format (such as SVG, EPS, or AI) scale infinitely without loss of quality.
- Embed or Outline Fonts: This prevents font substitution issues and ensures text remains crisp.
- Convert Images to CMYK: Latex printers use CMYK inks, so converting your images before printing helps maintain color accuracy.
- Check for Compression Artifacts: Avoid excessive JPEG compression, which can introduce blurring and color shifts.
Comparing Latex Printing Resolution to Other Technologies
Latex printing offers a unique combination of speed, flexibility, and quality. When compared to UV or solvent printing, latex often provides smoother gradients and less banding at similar resolutions. For a deeper comparison of print technologies, see this detailed guide on latex vs. UV printing.
It’s important to note that while some printers advertise extremely high DPI capabilities, real-world sharpness is also influenced by ink formulation, printhead technology, and substrate compatibility. Always test your settings on the actual material before committing to a full production run.
Common Mistakes to Avoid When Setting Print Resolution
Even experienced print professionals can fall into a few traps when configuring their files for latex output. Here are some frequent errors:
- Using Low-Resolution Images: Always check your image’s PPI at final print size. Images pulled from the web are often too low-res for large format printing.
- Overcompensating with Excessive DPI: Setting files to 600 DPI or higher rarely improves visible quality but can dramatically increase file size and print time.
- Ignoring Material Characteristics: Some substrates absorb ink differently, affecting sharpness. Always test on the actual material.
- Skipping Proof Prints: Running a small test print can reveal issues before you commit to a full run.
FAQ: Resolution and Sharpness in Latex Printing
What is the minimum recommended resolution for latex printing?
For most large format prints, a minimum of 100–150 DPI at the final print size is sufficient, especially for banners or signage viewed from a distance. For close-up applications, aim for 200–300 DPI for best results.
How does viewing distance affect the required print resolution?
The farther away a print is viewed, the lower the resolution needed to appear sharp. For example, a billboard can look crisp at 50 DPI when seen from across a street, while a gallery photo print may require 300 DPI for close inspection.
Can I use the same resolution settings for all materials?
Not always. Materials with heavy texture or absorbency may require higher resolution to maintain detail. Always consider the substrate and run a test print when possible to ensure optimal results.
Does increasing DPI always result in better quality?
No. After a certain point, increasing DPI yields diminishing returns. Excessively high settings can slow down printing and create unnecessarily large files without visible improvement. Match your resolution to the application and viewing distance for the best balance of quality and efficiency.