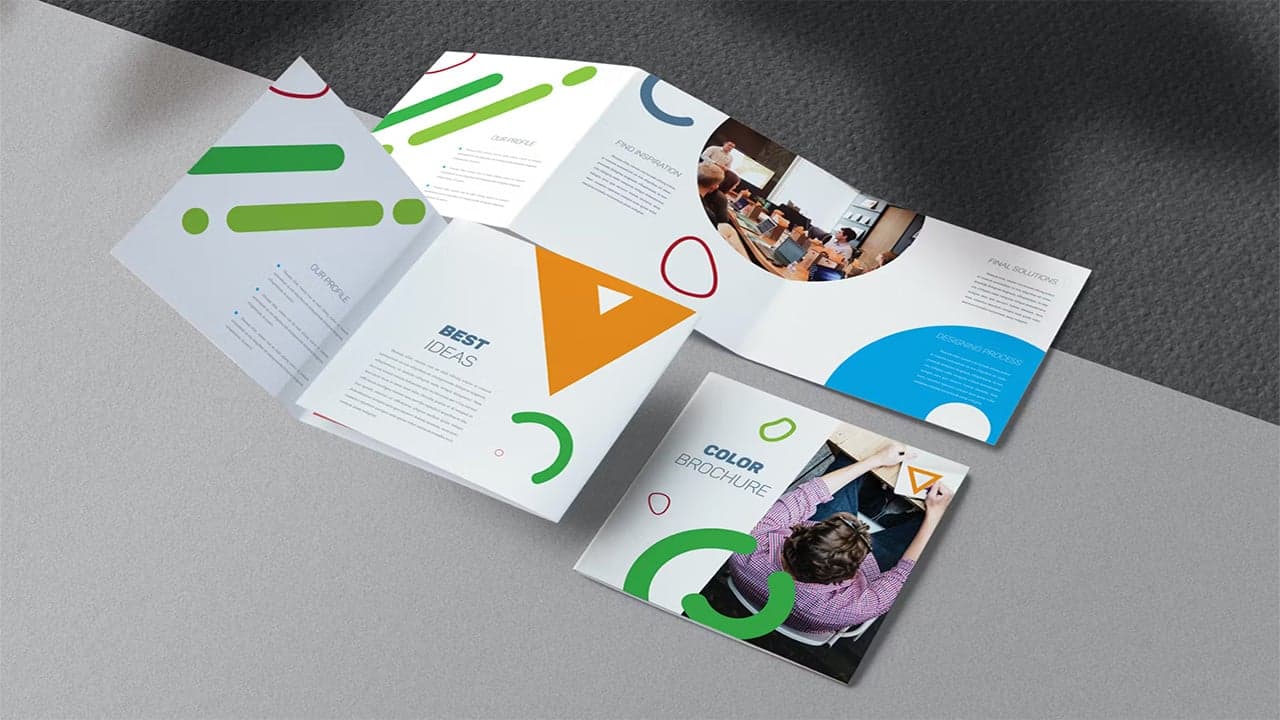
When it comes to creating a captivating brochure, understanding bleed and margin in brochure design is crucial. What exactly do these terms mean, and how do they impact the final product? Let’s dive deep into the nuances of these concepts, which are vital for marketing professionals and anyone interested in creating standout print materials.

Introduction to Bleed in Brochure Design
Bleed refers to the extra space around your design that ensures elements align correctly when printed and trimmed. Its important for preventing unsightly white borders.
Why is Bleed Important?
The primary purpose of bleed is to account for slight movement during the printing and cutting process. Without accounting for bleed, even the most precisely cut brochures risk having unexpected white edges.
How to Set Up Bleed
Setting up bleed typically involves extending your design beyond the actual dimensions of the brochure by 1/8 inch or 3mm. This ensures the full design is maintained post-trimming.
Diving into Margin in Brochure Design
While bleed extends your design outward, the margin works inward. The margin helps keep important content inside the safe zone of the brochures edge.
The Function of Margin
The margin ensures that key design elements do not get cut off. A standard margin is around 1/4 inch from the edge but can vary depending on brochure size and design.
Adjusting Margins for Design Aesthetics
Adjusting margins can enhance the visual balance of the brochure. Wide margins can create a cleaner look, while narrow margins can increase the content area.
Impact of Bleed and Margin on Printing
Both bleed and margin in brochure design significantly affect the printing stage. Properly set bleed and margin ensure that your brochures look professional and visually appealing.
Common Mistakes and How to Avoid Them
Avoid beginner mistakes such as incorrect bleed settings or ignoring print requirements by double-checking files before sending them to print. For more insight, check out this guide on brochures.
Design Tools for Brochures
Utilizing tools such as Adobe InDesign and Photoshop can ease the process of setting up bleed and margin.
Utilizing Software Templates
Most professional design software includes preset templates for brochures, which are already set with appropriate bleed and margin.
Working with Print Services
Many printing services, like reliable brochure printing, provide guidelines for setting up templates that fit their equipment, ensuring quality output.
Best Practices in Brochure Design
Ensuring excellence in brochure design involves understanding the detailed nuances of bleed and margin.
Optimizing for Readability
Clear, concise messaging is crucial. Keep text away from the edges and maintain a cohesive design balance.
Choosing the Right Colors
Colors affect readability and print quality. Ensure they align well with your bleed and margin settings to prevent unwanted shifts.
Current Trends in Brochure Design
Staying updated with design trends can inspire more effective brochures. Visit product brochures for more ideas.
Conclusion
Understanding and implementing proper bleed and margin techniques are essential in brochure design. It ensures high-quality, professional-looking prints that meet the aesthetic and functional needs of marketing strategies.

FAQ Section
- What is the standard bleed size for brochure design? The standard bleed size is typically 1/8 inch (3mm).
- Why is margin necessary in brochure design? Margins prevent important content from being cut off after trimming.
- What tools can help with bleed and margin settings? Adobe InDesign and Photoshop have built-in template features ideal for setting up bleed and margin.
This article contains affiliate links. We may earn a commission at no extra cost to you.


