Achieving professional-quality prints on vinyl is a goal for many sign makers, graphic producers, and print shops. With the rise of latex ink technology, printing on vinyl has become more accessible, offering vibrant colors, durability, and eco-friendly properties. However, mastering the process requires understanding the right materials, printer settings, and finishing steps to ensure your graphics look sharp and last long.
This guide covers the essential steps and best practices for producing outstanding vinyl prints using latex ink. Whether you’re new to large-format printing or seeking to improve your workflow, you’ll find practical advice on equipment, media selection, color management, and troubleshooting. For a deeper dive into compatible materials, see what substrates work with latex printing.
Understanding Latex Ink and Its Benefits for Vinyl Printing
Latex ink is a water-based formulation that uses heat to cure the ink onto the surface of the vinyl. Unlike solvent or UV inks, latex inks are known for their low environmental impact, minimal odor, and compatibility with a wide range of flexible substrates. This makes them ideal for indoor and outdoor signage, vehicle wraps, wall graphics, and more.
Some of the main advantages of using latex ink on vinyl include:
- Vivid color reproduction with high image quality
- Fast drying and immediate handling after printing
- Excellent scratch resistance and outdoor durability
- Eco-friendly, with low VOC emissions
- Compatibility with both coated and uncoated vinyl media
For a comprehensive explanation of this technology, see this detailed overview of latex printing.
Preparing Your Workspace and Materials
Before starting the printing process, it’s important to set up your workspace and gather all necessary supplies. Here’s what you’ll need:
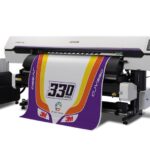
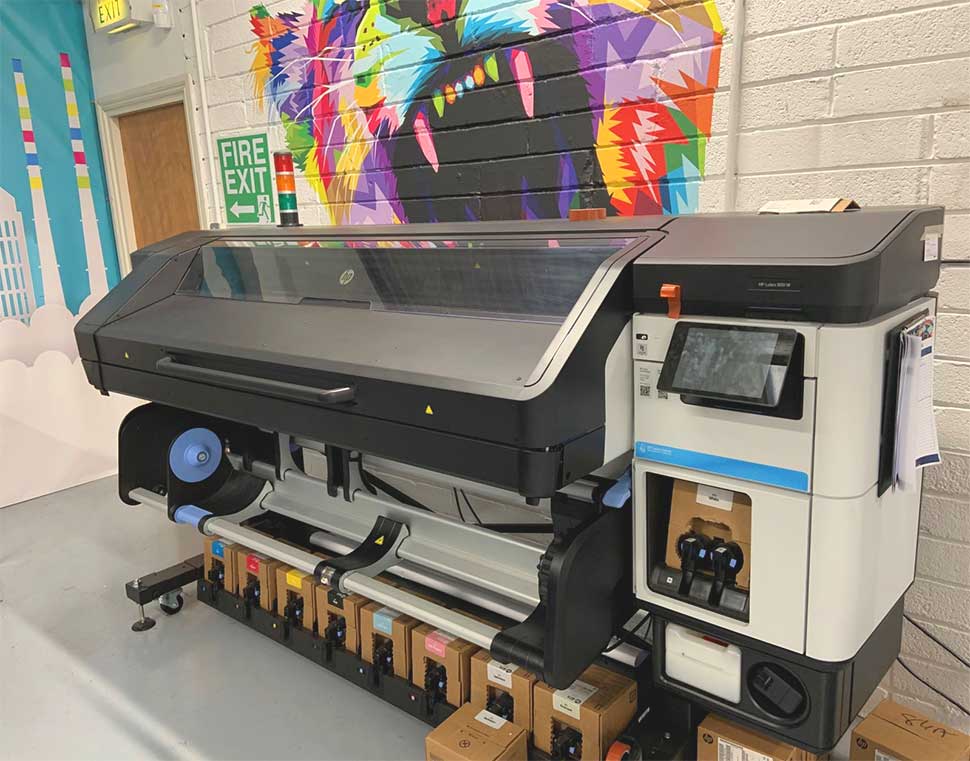
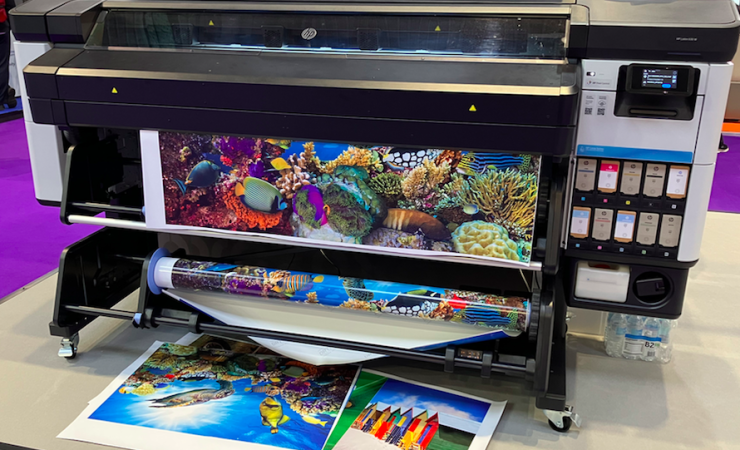
- Latex-compatible wide-format printer (such as HP Latex series)
- High-quality vinyl media suitable for latex inks
- Latex ink cartridges
- Computer with RIP software for print management
- Monitor calibration device for accurate color output
- Finishing tools (cutters, laminators, squeegees, etc.)
Make sure your vinyl is stored in a clean, dust-free area and acclimated to room temperature before loading it into the printer. This helps prevent static, curling, or ink adhesion issues.
Step-by-Step Process: Printing on Vinyl with Latex Ink
1. Selecting the Right Vinyl Media
Not all vinyl is created equal. For best results, choose a vinyl that is specifically rated for latex ink compatibility. This ensures proper ink adhesion and color vibrancy. Consider the end use—cast vinyl is ideal for vehicle wraps and complex curves, while calendared vinyl works well for flat surfaces and short-term signage.
For more guidance on choosing the right substrate, explore best materials for latex printing.
2. Preparing Your Artwork and Color Management
Use professional design software and set your document color profile to match your printer’s requirements (usually CMYK). Calibrate your monitor regularly with a calibration device to ensure what you see on screen matches the final output. Soft proof your designs and use ICC profiles provided by the vinyl or printer manufacturer for accurate color reproduction.
3. Printer Setup and Media Loading
Load the vinyl roll into your latex printer, ensuring it is straight and tensioned correctly. Set the printer to the appropriate media type and size. Check that the printheads and ink cartridges are in good condition and that the printer’s maintenance routines have been completed.
4. Optimizing Printer Settings for Latex Ink
Adjusting your printer’s settings is crucial for achieving professional results. Key parameters include:
- Temperature and curing: Set the curing temperature as recommended by the vinyl manufacturer.
- Print mode: Choose the resolution and speed that balance quality and productivity.
- Ink density: Avoid oversaturation by using the correct ink limits for your media.
- Pass count: Higher pass counts improve quality but reduce speed.
For more on this topic, see how to choose latex printer settings.
5. Running Test Prints and Adjustments
Always start with a test print to check color accuracy, ink coverage, and curing. Inspect the print for banding, color shifts, or adhesion issues. Make necessary adjustments to the RIP settings or printer controls until the output meets your standards.
6. Printing and Finishing
Once satisfied with your test, proceed with the full print run. Allow the prints to cool and outgas as recommended—this prevents issues during lamination or installation. For added durability, especially for outdoor applications, apply a compatible laminate film.
Common Issues and Troubleshooting Tips
Even with the best equipment, challenges can arise when printing on vinyl with latex ink. Here are some frequent problems and solutions:
- Banding or streaks: Clean printheads and ensure proper media loading.
- Ink not adhering: Confirm media compatibility and curing temperature.
- Color mismatch: Use correct ICC profiles and calibrate your monitor.
- Wrinkles or bubbles: Store vinyl properly and handle with care during loading.
For more troubleshooting advice, refer to common latex printing problems and troubleshooting latex printer issues.
Best Practices for Professional Vinyl Prints
- Use high-resolution artwork for crisp, detailed prints.
- Maintain a clean workspace to avoid dust or debris on the vinyl.
- Regularly service your printer and replace consumables as needed.
- Test new vinyl rolls and ink batches before large production runs.
- Keep detailed records of settings that yield the best results for future reference.
Frequently Asked Questions
What types of vinyl are best for latex ink printing?
Both cast and calendared vinyl can be used, but it’s essential to select vinyl specifically rated for latex ink compatibility. Cast vinyl is preferred for vehicle wraps and complex surfaces, while calendared vinyl is suitable for flat applications and short-term signage.
How do I ensure accurate colors when printing on vinyl?
Accurate color output depends on using the right ICC profiles, calibrating your monitor, and setting up your RIP software correctly. Regular calibration and soft proofing help ensure what you see on screen matches the final print.
Can I laminate latex prints immediately after printing?
It’s best to allow latex prints to cool and outgas for a few hours before laminating. This ensures any residual moisture or solvents evaporate, preventing bubbles or adhesion problems during the finishing process.
Is latex ink environmentally friendly?
Yes, latex inks are water-based and have low VOC emissions, making them a more eco-friendly choice compared to solvent or UV inks. They are safe for indoor use and meet many environmental certifications.
By following these steps and best practices, you can achieve vibrant, long-lasting graphics on vinyl using latex ink technology. With the right preparation and attention to detail, your prints will stand out for their quality and durability.