Welcome to the exhilarating world of printing stickers for t-shirts! Whether you are a budding designer, a thriving entrepreneur, or simply someone who loves customizing apparel, this guide will help you unleash your creativity. In today’s technology-driven world, personalizing t-shirts with custom stickers has become a popular trend. It’s an affordable way to express your unique style or promote a brand. With the right materials and techniques, you can easily create professional-looking stickers right from the comfort of your home.
In this guide, you will learn various methods and tools available for producing high-quality stickers. From selecting the best materials to understanding different printing techniques, we’ll cover it all. Let’s dive into the tremendous possibilities that await you!

Things You’ll Need to Get Started
1. Essential Materials
Before embarking on your sticker printing journey, gather the following essential materials:
- Sticker Paper: Opt for vinyl or durable sticker paper suitable for fabric.
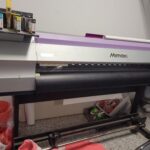
- Printer: Choose an inkjet or laser printer that supports sticker printing. Learn about choosing the right printer here.
- Cutting Tool: A cutting machine (like Cricut) or scissors for precise cuts.
- Design Software: Use graphic design tools like Adobe Illustrator or free options like Canva.
2. Planning Your Design
Creating an eye-catching design is a crucial step. Use your favorite graphic design software to experiment with colors, shapes, and typography. Ensure your design reflects the message or style you wish to convey. Make sure the design is compatible with your chosen printing method.
Step-by-Step Guide: How to Print Stickers for T-Shirts
3. Preparing the Printer
Configuring your printer correctly is vital for achieving high-quality prints. Follow these steps to ensure optimal results:
- Set the paper type to match your sticker paper.
- Adjust the print settings for maximum resolution.
- Perform a test print to ensure colors and alignment are accurate.
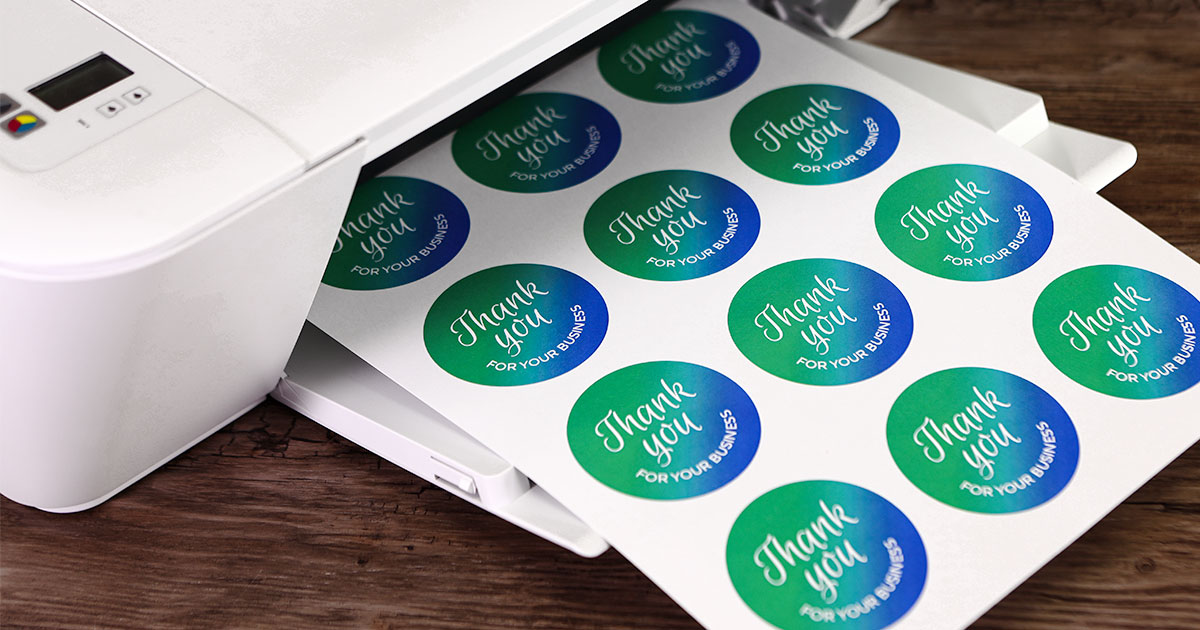
4. Printing the Stickers
Once your printer is configured, you can start printing:
- Load the sticker paper into the printer’s feed tray.
- Select your design file and send it to print.
- Allow the prints to dry completely before handling them.
5. Cutting the Stickers
Precisely cutting your stickers ensures they look professional. If you’re using a cutting machine, follow the manufacturer’s instructions to align and trim your stickers. Alternatively, carefully use scissors to cut out your designs, staying close to the edges for a clean finish.
Transferring Stickers Onto T-Shirts
6. Applying Stickers to Fabric
Next, it’s time to transfer your stickers onto the t-shirts:
- Clean and iron the area where the sticker will be applied to remove wrinkles.
- Carefully peel the backing off the sticker.
- Place the sticker onto the fabric and smooth it down to eliminate air bubbles.
7. Ensuring Longevity
To make sure your stickers last long on fabric:
- Consider using a heat press to securely adhere the sticker to the fabric.
- Turn the t-shirt inside out before washing and use mild detergent.
Read more about different ways to ensure better label sticking here.
DIY Sticker Printing Techniques
8. Using Heat Transfer Paper
Heat transfer paper is an easy method for transferring designs to t-shirts:
- Print your design on heat transfer paper using a regular inkjet printer.
- Place the printed paper onto the t-shirt, design-side down.
- Apply heat using an iron or heat press machine.
Learn more about this type of printing here.
9. Sublimation Printing
Sublimation printing is a popular technique for vibrant and durable prints:
- Use sublimation ink and paper for this process.
- Transfer the design onto polyester or poly-coated t-shirts.
- The heat converts the ink into a gas, bonding it permanently with the fabric.
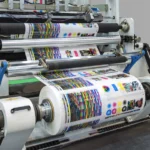
10. Screen Printing
Screen printing is ideal for bulk production and produces vivid colors:
- Prepare a stencil or screen for each color in your design.
- Apply ink through the mesh screen onto the fabric.
- Allow the ink to dry, producing long-lasting results.
Common Challenges and Solutions
11. Ink Smudging
To avoid ink smudging when printing:
- Ensure the printer uses the correct ink type for your sticker paper.
- Allow enough drying time for prints before handling.
12. Misalignment Issues
To address print misalignment:
- Check and adjust the paper guides within your printer.
- Perform regular maintenance and alignment checks on your printer.
Where to Find Design Inspiration
13. Online Resources
Consider exploring design inspiration from popular platforms like Pinterest, Canva, and Behance. These sites offer thousands of templates and design ideas to spark your creativity.
14. Joining Creative Communities
Engage with online communities where designers share tips, feedback, and resources. Platforms like Reddit, Facebook groups, and design forums are invaluable for learning new techniques.
Conclusion: Embark on Your Sticker Printing Journey
There you have ita comprehensive guide on how to print stickers for t-shirts. By following these steps and exploring the mentioned resources, you’ll be well-prepared to create stunning, professional-looking stickers. Embrace this adventure and watch as your creative endeavors bring joy and style to every fabric you encounter.
For additional resources and expert tips, consider visiting this helpful blog.
FAQs
Can I print stickers at home without a professional printer?
Yes, you can print stickers at home using an inkjet or laser printer. Select quality sticker paper suitable for your printer type. For more tips, check this guide.
What type of sticker is best for fabric use?
Vinyl or polyester-based stickers are best for fabric use as they offer durability and withstand washing better than paper-based stickers.
Is sublimation printing suitable for all types of fabric?
Sublimation printing is best suited for polyester or poly-coated fabrics. It’s not recommended for cotton materials as the ink does not bond well with the fibers.