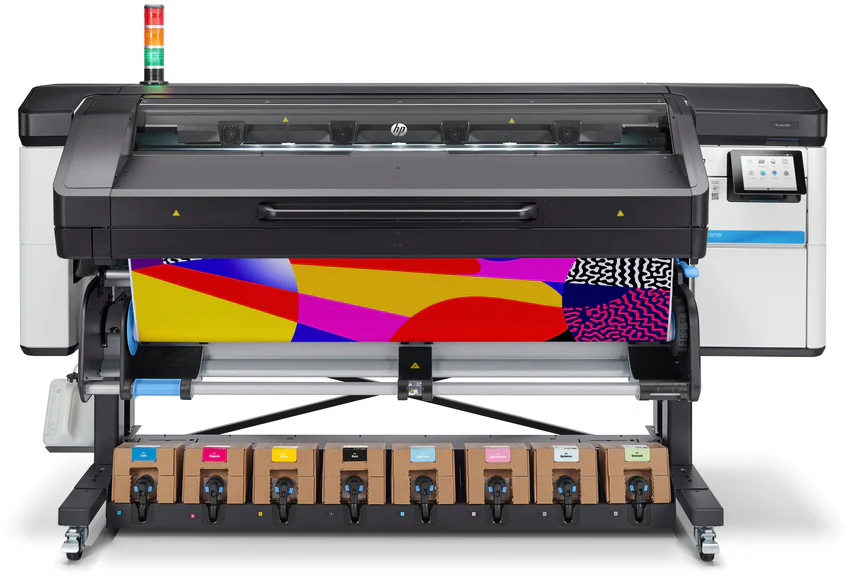

Achieving optimal results with latex ink printing relies heavily on temperature control in curing process workflows. Proper curing ensures durability, color vibrancy, and adhesion, but even small temperature fluctuations can lead to inconsistent finishes or compromised print quality. Whether you’re running a high-volume print shop or managing a single wide-format printer, understanding how to manage heat during curing is essential for reliable output and long-term customer satisfaction.
This guide explores the most effective strategies for maintaining stable curing temperatures, highlights common pitfalls, and explains how to troubleshoot issues that may arise. For those interested in broader innovations in print technology, you may also want to learn about what is digital prototyping for packaging and how it can streamline your production workflow.
Why Temperature Matters in Latex Ink Curing
The curing stage is where printed latex inks are exposed to controlled heat, causing the water-based components to evaporate and the pigments to bond with the substrate. If the temperature is too low, the ink may remain tacky, leading to smudging or poor durability. Excessive heat, on the other hand, can cause substrate deformation or color shifts.
Manufacturers typically specify a recommended curing temperature range for their inks and printers. Staying within these parameters is critical for achieving consistent, high-quality results. For example, many latex printers require curing temperatures between 100°C and 120°C (212°F–248°F), but this can vary depending on the ink formulation and substrate type.
Key Factors Affecting Temperature Control in Curing Process
Several variables influence how effectively heat is managed during the curing phase:
- Printer Calibration: Regular calibration ensures sensors and heating elements deliver accurate temperatures.
- Ambient Conditions: Room temperature and humidity can impact the efficiency of the curing system.
- Substrate Characteristics: Thicker or coated materials may require adjustments to heat settings for even curing.
- Ink Load: Heavier ink coverage can demand longer dwell times or slightly higher temperatures.
- Airflow: Proper ventilation helps maintain uniform heat distribution across the print width.
Best Practices for Maintaining Consistent Curing Temperatures
To ensure reliable temperature control in curing process operations, consider the following best practices:
- Monitor Curing Zones: Many wide-format latex printers have multiple heating zones. Use built-in diagnostics or external sensors to verify each zone is operating within spec.
- Preheat Substrates: Allow materials to acclimate to the print room environment before printing. Cold substrates can absorb heat unevenly, affecting curing consistency.
- Regular Maintenance: Clean heating elements and ensure fans or blowers are free of dust and debris. Blocked airflow can cause hot or cold spots.
- Use Manufacturer Settings: Start with the recommended curing profiles for your ink and substrate, then fine-tune as needed based on test prints.
- Document Adjustments: Keep a log of any changes to curing temperatures or dwell times for specific jobs or materials. This helps with troubleshooting and repeatability.
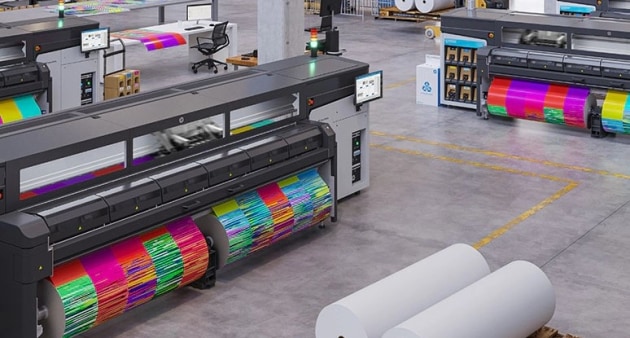
Common Curing Issues and Troubleshooting Tips
Even with careful management, problems can arise during the curing stage. Here are some typical issues and how to address them:
- Incomplete Curing: If prints feel sticky or colors appear dull, check that all heating zones are reaching the target temperature. Increase dwell time or slightly raise the temperature if needed.
- Substrate Warping: Excessive heat can cause thin or heat-sensitive materials to buckle. Lower the curing temperature or use a slower print speed to reduce thermal stress.
- Color Shifts: Inconsistent temperature control can alter ink chemistry, leading to unexpected color changes. Verify calibration and ensure even airflow across the print bed.
- Edge Curling: Uneven heating or rapid cooling can cause edges to lift. Adjust airflow and check that the substrate is properly supported throughout the curing process.
For a deeper dive into advanced curing technologies, you might be interested in exploring what is electron beam curing in printing and how it compares to latex ink systems.
Optimizing Your Workflow for Reliable Results
Consistency is key in professional printing. Here are additional steps to help standardize your temperature control in curing process:
- Implement Quality Checks: Inspect prints at regular intervals for signs of under- or over-curing.
- Train Staff: Ensure all operators understand the importance of temperature management and know how to adjust settings safely.
- Leverage Technology: Use data logging tools to track temperature trends and identify patterns that could indicate equipment wear or environmental shifts.
Staying informed about the latest printer models and ink technologies can also make a difference. For a comprehensive overview of latex printers and their suitability for different business needs, see this guide to latex printers and their business applications.
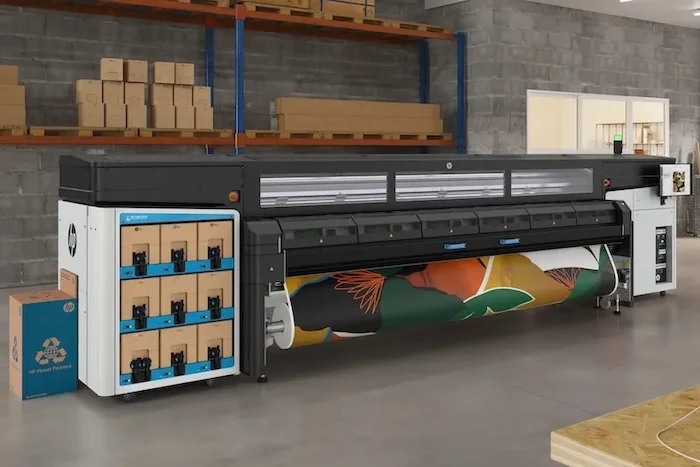
Integrating Color Management and Curing Control
Achieving accurate color reproduction is closely tied to stable curing conditions. Fluctuations in heat can impact ink drying rates and final color appearance. Integrating robust color management systems with your curing workflow helps ensure that what you see on screen matches what comes off the printer. For more on this, see the benefits of cloud-based color management for global print operations.
FAQ: Latex Ink Curing and Temperature Management
What is the ideal curing temperature for latex inks?
Most latex inks require curing temperatures between 100°C and 120°C (212°F–248°F), but it’s important to consult your printer and ink manufacturer’s guidelines. The optimal temperature can vary based on the specific ink formula and substrate in use.
How can I tell if my prints are not properly cured?
Signs of improper curing include tacky surfaces, dull colors, poor scratch resistance, or ink transfer when touched. If you notice these issues, check your curing temperature settings and ensure all heating zones are functioning correctly.
Can environmental factors affect the curing process?
Yes, ambient temperature and humidity can influence how efficiently heat is transferred during curing. High humidity may slow evaporation, while cold environments can require longer or hotter curing cycles. Always monitor your print room conditions and adjust settings as needed.
Is it possible to automate temperature control in curing?
Many modern latex printers feature automated temperature controls and real-time monitoring. However, periodic manual checks and calibration are recommended to ensure long-term reliability and consistent output.
Conclusion
Mastering temperature control in curing process workflows is essential for producing high-quality, durable latex prints. By following best practices, maintaining your equipment, and staying informed about new technologies, you can minimize errors and deliver superior results to your clients. For those looking to further enhance their print production, exploring topics like what is holographic lamination or how to design packaging for Gen Z consumers can provide additional insights into the evolving world of print finishing and design.