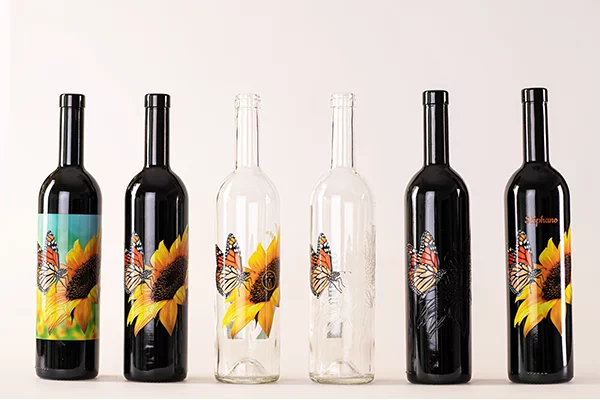

Effective glass printing project planning is essential for achieving high-quality, customized results—whether you’re producing branded bottles, decorative panels, or unique interior features. With the right approach, you can avoid common pitfalls, stay on schedule, and ensure your printed glass meets both aesthetic and functional requirements. This guide provides a comprehensive checklist to help you navigate every stage, from initial concept to final inspection.
Before diving into the checklist, it’s helpful to learn from others’ experiences. For example, understanding the common mistakes in glass printing can help you sidestep issues that often derail projects. By combining best practices with careful preparation, you’ll be well-positioned for success.
Defining Your Glass Printing Goals and Requirements
Start by clarifying what you want to achieve with your project. Are you aiming for a decorative effect, branding, or functional labeling? Defining your objectives will guide every decision that follows. Consider these aspects:
- End Use: Will the printed glass be used for packaging, architectural features, or electronics?
- Design Requirements: What colors, patterns, or branding elements are needed?
- Durability: Does the print need to withstand washing, UV exposure, or abrasion?
- Quantity: Are you producing a small batch or a large run?
Clear goals help you communicate effectively with suppliers and avoid costly changes later in the process.
Choosing the Right Printing Technique
There are several methods available for printing on glass, each with its own strengths. Your choice will depend on your goals, budget, and technical requirements. Some popular techniques include:
- Screen Printing: Ideal for bold, opaque designs and high-volume production.
- Digital Printing: Best for full-color images, gradients, and short runs.
- Pad Printing: Suitable for printing on curved or irregular surfaces.
- Etching and Sandblasting: Used for frosted or textured effects.
For a deeper dive into the advantages and limitations of each process, check out this overview of glass printing techniques.
Material Selection and Surface Preparation
The type of glass and its preparation are critical to project success. Not all glass is created equal—some may require special treatments to ensure ink adhesion and durability. Key considerations include:
- Glass Type: Soda-lime, borosilicate, and tempered glass each have unique properties.
- Surface Cleanliness: Oils, dust, or residues can cause print defects. Ensure thorough cleaning before printing.
- Pre-Treatments: Some projects benefit from flame or chemical treatments to enhance ink bonding.
Proper preparation reduces the risk of peeling, fading, or other quality issues.
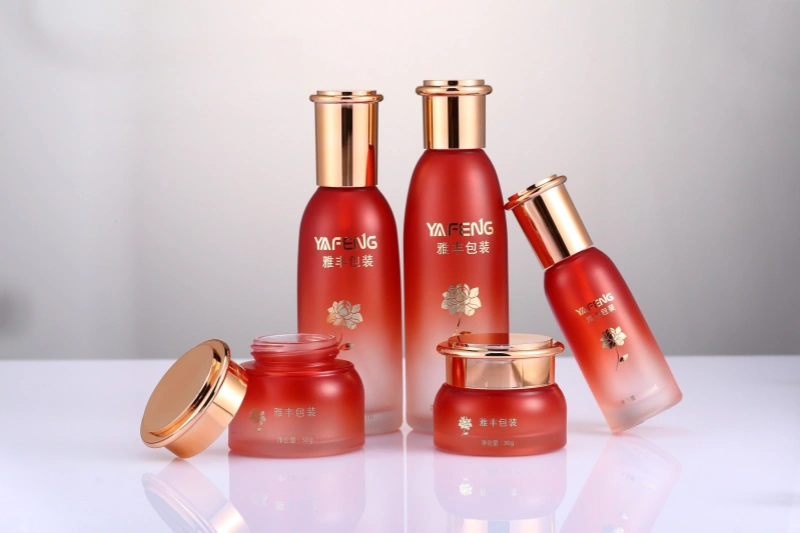
Artwork Preparation and File Management
High-quality artwork is the foundation of a successful print. Follow these steps to ensure your designs are production-ready:
- Resolution: Use vector files or high-resolution images (at least 300 dpi).
- Color Profiles: Convert files to CMYK or Pantone as required by your printer.
- Bleed and Margins: Include appropriate bleed to avoid unprinted edges.
- Proofing: Request digital or physical proofs to verify colors and alignment.
Organize your files clearly and back them up to prevent delays or data loss.
Scheduling and Project Management
Timelines can make or break a project. Develop a realistic schedule that accounts for each phase:
- Design and approval
- Material sourcing
- Printing and curing
- Quality inspection
- Packing and delivery
Build in extra time for proofing, revisions, and unforeseen issues. Regular check-ins with your team and suppliers help keep everything on track.
Quality Control and Inspection
Consistent quality is non-negotiable, especially for commercial or high-end applications. Implement these checks:
- Visual Inspection: Check for color accuracy, registration, and defects.
- Adhesion Testing: Ensure prints won’t peel or scratch off easily.
- Functional Testing: For items like drinkware, test for dishwasher or UV resistance.
Document your inspection process and results for future reference. For more inspiration on premium applications, explore high end interior glass applications and see how quality standards are maintained in luxury projects.

Packaging, Delivery, and Installation Considerations
Once your glass items are printed and inspected, attention turns to safe handling and delivery. Proper packaging prevents scratches, chips, or print damage in transit. Consider the following:
- Use foam, bubble wrap, or custom inserts for protection.
- Label fragile items clearly for handlers and couriers.
- Coordinate with installers if the glass will be mounted or integrated into larger structures.
For creative inspiration on how printed glass can be used in interior design, see these creative uses of printed glass for unique spaces.
Checklist for Successful Glass Printing Projects
To help you stay organized, here’s a summary checklist for your next project:
- Define project goals and requirements
- Select suitable printing technique
- Choose and prepare glass materials
- Prepare artwork and proofs
- Establish a realistic timeline
- Implement quality control measures
- Arrange safe packaging and delivery
- Document each stage for future reference
By following these steps, you’ll minimize risks and maximize the impact of your printed glass items.
Advanced Tips for Glass Printing Project Planning
For those looking to push boundaries, consider these advanced strategies:
- Explore smart device glass printing for high-tech applications.
- Leverage printed glass for branding by reviewing branding opportunities with printed glass in retail and hospitality settings.
- Collaborate with designers and engineers early to integrate printing into product development.
Staying informed about new materials and techniques will help you deliver innovative, standout results.
Frequently Asked Questions
What is the most durable method for printing on glass?
Screen printing and ceramic digital printing are known for their durability, especially when the glass is fired after printing. These methods create prints that resist abrasion, UV exposure, and washing. For projects requiring extreme durability, consult your supplier about post-print curing or firing options.
How can I ensure color accuracy in my glass printing project?
Work closely with your printer to provide color references, Pantone codes, or physical samples. Always request proofs before full production. Be aware that glass color and transparency can affect the final appearance, so test on actual materials whenever possible.
What are common mistakes to avoid in glass printing project planning?
Some frequent errors include inadequate surface cleaning, using low-resolution artwork, and underestimating drying or curing times. Reviewing resources on common mistakes in glass printing can help you avoid these pitfalls and achieve better results.