
Preparing a vehicle for a wrap using latex printing technology requires a careful, step-by-step approach to achieve the best visual results and long-lasting adhesion. Whether you are an experienced installer or new to this process, understanding the nuances of vehicle wrap preparation for latex printing can make a significant difference in both efficiency and final quality. This guide covers essential steps, from initial cleaning to surface inspection, and highlights best practices specific to latex-printed graphics.
As the demand for custom vehicle wraps grows, print professionals are increasingly turning to latex technology for its eco-friendliness, vibrant colors, and durability. However, the unique properties of latex inks and media require particular attention during the prep phase. By following proven preparation methods, you can ensure your wrap not only looks great but also stands up to the elements and daily wear.
For those interested in how digital advancements are shaping print production, you may want to explore what is digital prototyping for packaging for additional insights into modern print workflows.
Understanding the Importance of Proper Surface Preparation
The foundation of a successful vehicle wrap lies in meticulous surface preparation. Any contaminants, residues, or imperfections can compromise the adhesion of latex-printed films, leading to premature failure or visible defects. Unlike some other printing methods, latex inks are water-based and require substrates to be especially clean and dry for optimal bonding.
Proper preparation ensures that the wrap conforms smoothly to the vehicle’s contours and maintains its appearance over time. It also minimizes the risk of bubbles, lifting, or edge curling, which are common issues when shortcuts are taken during prep.
Step-by-Step Vehicle Cleaning and Decontamination
Cleaning is the most critical step in vehicle wrap preparation for latex printing. Begin by thoroughly washing the vehicle with a pH-neutral automotive soap to remove dirt, dust, and road grime. Avoid using waxes or polishes, as these can leave residues that interfere with film adhesion.
- Initial Wash: Use a soft sponge or microfiber mitt and rinse thoroughly to ensure all soap is removed.
- Degreasing: After drying, use an isopropyl alcohol solution (typically 70% IPA mixed with water) to wipe down all surfaces where the wrap will be applied. Pay special attention to edges, seams, and recessed areas.
- Clay Bar Treatment: For vehicles with stubborn contaminants like tar, sap, or industrial fallout, a clay bar can help achieve a perfectly smooth surface.
- Final Inspection: Run your hand over the surface to check for any remaining roughness or spots. Repeat cleaning as needed.
Surface Inspection and Repair Before Wrapping
Once the vehicle is clean, inspect the paintwork for chips, scratches, rust, or other imperfections. Latex-printed wraps are thin and flexible, so any flaws underneath will likely show through the finished graphic.
- Paint Chips and Scratches: Touch up or repair as needed. Allow any paint repairs to cure fully before proceeding.
- Rust: Remove rust and treat affected areas, as wraps will not adhere properly to corroded surfaces.
- Body Damage: Dents or uneven panels should be professionally repaired for the best wrap results.
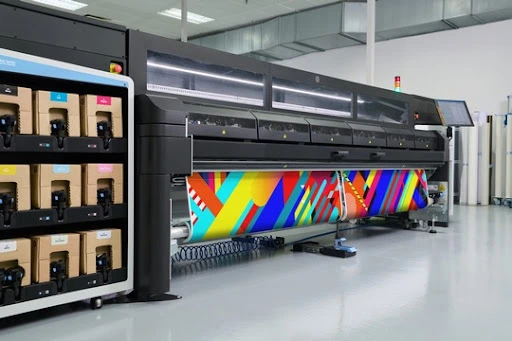
Choosing the Right Media and Ink for Latex Printing
Not all wrap films are created equal. For latex-printed graphics, select a media specifically rated for compatibility with latex inks. These films are engineered to accept water-based ink without smudging or loss of vibrancy.
Additionally, ensure you are using genuine latex ink cartridges for your printer. This helps maintain color accuracy and durability. If you need to restock, consider the option to Buy Latex Ink Cartridges for reliable results.
Temperature, Humidity, and Environmental Considerations
Environmental factors play a significant role in the success of latex-printed vehicle wraps. Both the printing and installation environments should be controlled for temperature and humidity.
- Printing Room: Maintain a stable temperature (ideally 20–25°C) and moderate humidity to prevent ink drying issues or media deformation.
- Installation Area: Avoid direct sunlight, excessive heat, or cold. The vehicle and wrap film should be at similar temperatures to ensure proper adhesion.
- Outgassing: After printing, allow the latex graphics to outgas for at least 24 hours. This step is crucial to prevent bubbles or lifting after installation.
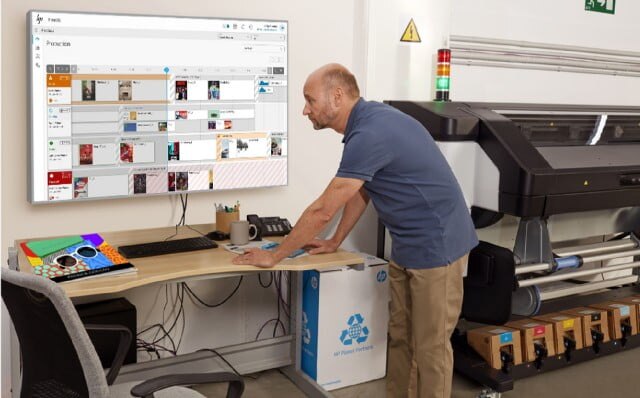
Color Management and Proofing for Accurate Results
Achieving accurate color reproduction is essential for branding and visual impact. Calibrate your monitor and printer regularly to ensure what you see on screen matches the final output. Using a monitor calibrator can help maintain consistency across projects. If you require a reliable tool, you can Buy Monitor Caliblator for professional-grade results.
Print a small test swatch or proof before committing to the full wrap. This allows you to check for color accuracy, registration, and any print defects.
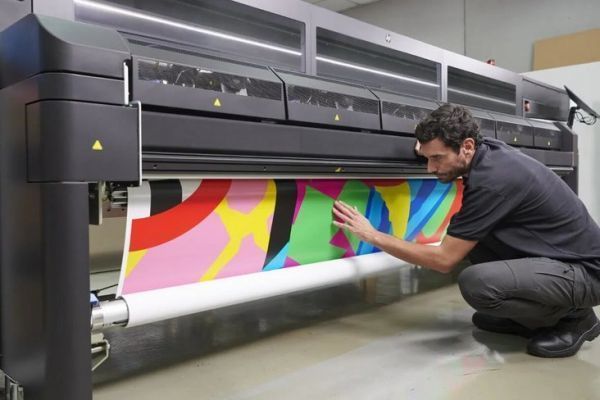
Application Techniques for Latex-Printed Wraps
Once the vehicle is prepped and the graphics are printed and outgassed, it’s time for installation. Use the following best practices to ensure a smooth application:
- Dry Application: Most latex-printed films are designed for dry application. Avoid using water or soap solutions unless the film manufacturer specifically recommends it.
- Proper Tools: Use high-quality squeegees, felt buffers, and heat guns to work the film into curves and recesses.
- Edge Sealing: Pay special attention to edges and seams. Use edge sealers or primers where necessary to prevent lifting.
- Post-Heating: After application, gently heat the film in areas with deep recesses or curves to set the adhesive and memory of the material.
Common Mistakes to Avoid in Wrap Preparation
Even experienced installers can overlook critical steps in the preparation process. Here are some frequent errors and how to prevent them:
- Skipping the Outgassing Step: Installing latex-printed graphics before they have fully outgassed can trap vapors and cause bubbles.
- Inadequate Cleaning: Failing to remove all wax, grease, or debris leads to poor adhesion and premature wrap failure.
- Ignoring Environmental Conditions: Installing wraps in unsuitable temperatures or humidity can affect both the adhesive and the film’s flexibility.
- Neglecting Edge Sealing: Unsealed edges are vulnerable to water intrusion and lifting, especially in high-wear areas.
Further Resources on Latex Printing Technology
For a deeper understanding of how latex printing works and its advantages in vehicle graphics, you can read this comprehensive guide to latex printing technology. Staying informed about the latest materials and techniques will help you deliver better results for your clients.
FAQ: Vehicle Wrap Prep for Latex-Printed Graphics
How long should latex-printed graphics outgas before installation?
It is recommended to allow latex-printed films to outgas for at least 24 hours after printing. This step ensures that any residual moisture or vapors from the ink are released, which helps prevent bubbles or lifting after the wrap is applied.
Can I use standard cleaning products before applying a wrap?
Avoid using waxes, polishes, or silicone-based cleaners, as they leave residues that interfere with film adhesion. Stick to pH-neutral automotive soaps for the initial wash and finish with an isopropyl alcohol solution for final decontamination.
What are the key differences between latex and solvent-printed wraps?
Latex-printed wraps use water-based inks, which are more environmentally friendly and often have less odor than solvent-based inks. However, latex films require thorough outgassing and careful surface preparation to ensure proper adhesion and durability.
How can I ensure color accuracy with latex printing?
Regularly calibrate your monitor and printer, use ICC profiles specific to your media and ink, and always print a test swatch before the final job. Investing in a monitor calibrator can help maintain color consistency across projects.
For more on advanced print finishing and packaging techniques, you may also find value in learning about what is holographic lamination and the benefits of cloud-based color management.


