Managing an efficient eco solvent ink rip workflow is essential for anyone working with large-format printing, signage, or custom graphics. The right approach ensures color accuracy, print consistency, and optimal use of materials. Whether you’re new to digital printing or looking to refine your process, understanding each stage of the workflow can help you achieve professional results and minimize costly errors.
This article provides a comprehensive, step-by-step overview of how to prepare, process, and output graphics using eco solvent inks and RIP (Raster Image Processor) software. You’ll also find practical tips, links to related guides like the eco solvent ink industrial applications, and answers to common questions about the process.
Understanding the Eco Solvent Printing Process
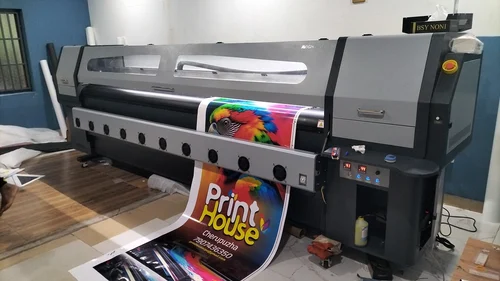
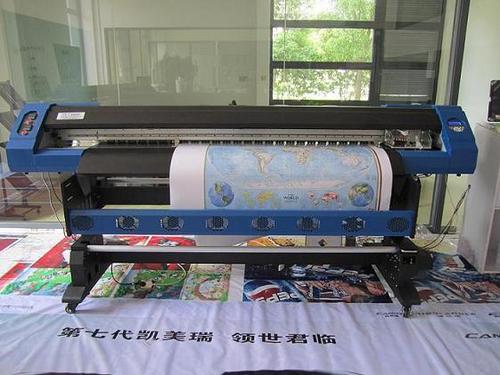
Eco solvent printing uses specially formulated inks that are less harmful to the environment compared to traditional solvent inks. These inks are ideal for indoor and outdoor graphics, offering durability and vibrant colors. The RIP workflow is the backbone of digital printing, converting design files into printable data that your printer can interpret.
The main steps in this process include file preparation, color management, RIP software configuration, print output, and post-processing. Each stage requires attention to detail to ensure the final print matches your expectations.
Preparing Artwork for the RIP Workflow
Before sending any file to your printer, proper preparation is crucial. Start by ensuring your artwork is in the correct format—typically TIFF, PDF, or EPS for high-resolution output. Use vector graphics when possible for logos and text to maintain sharpness at any size.
- Color Mode: Convert files to CMYK, as most eco solvent printers use this color model.
- Resolution: Aim for at least 150–300 DPI at final print size to avoid pixelation.
- Bleed and Margins: Add bleed (usually 3–5 mm) to prevent white edges after trimming.
- Fonts: Outline or embed fonts to avoid missing text issues.
For more details on preparing your ink system, see the eco solvent ink refill guide.
Configuring Your RIP Software for Eco Solvent Printing
The RIP software is responsible for translating your digital artwork into printer-ready instructions. Popular RIP programs include Onyx, Caldera, and Wasatch. Each offers advanced features for color profiling, nesting, and ink optimization.
- Import Your Design: Load your prepared file into the RIP interface.
- Select the Correct Media Profile: Choose a profile that matches your printer model, ink set, and media type. This ensures accurate color reproduction and ink usage.
- Color Management: Apply ICC profiles for your ink and substrate combination. This step is vital for consistent, predictable colors.
- Layout and Nesting: Arrange multiple jobs efficiently to minimize material waste.
- Set Print Parameters: Adjust resolution, print speed, and ink limits based on your project requirements.
Printing and Output: Key Steps in the Workflow
Once your file is processed by the RIP, it’s time to print. Double-check all settings before starting the job to avoid material waste. Here are the essential steps:
- Printer Calibration: Regularly calibrate your printer for optimal alignment and color accuracy.
- Media Loading: Load your chosen substrate carefully to prevent jams or misalignment.
- Test Prints: Run a small test print to verify color and registration before committing to a full run.
- Monitor Ink Levels: Keep an eye on ink supplies and replace cartridges as needed for uninterrupted printing.
For advice on what to do after printing, explore the eco solvent ink post processing guide, which covers drying, curing, and finishing techniques.
Post-Processing and Finishing Touches
After printing, allow your graphics to dry thoroughly. Eco solvent prints typically require 6–24 hours to cure, depending on environmental conditions and ink load. Once dry, you can proceed with cutting, laminating, or mounting.
- Lamination: Protects prints from abrasion, UV exposure, and moisture. For a step-by-step approach, see the eco solvent ink lamination guide.
- Trimming: Use a sharp blade or plotter for clean edges.
- Mounting: Apply graphics to the final surface, ensuring proper adhesion and alignment.
For industrial-scale applications, the eco solvent ink industrial applications resource offers further insights.
Maintenance Tips for Consistent Results
Keeping your printer and workflow in top shape is essential for reliable output. Regular maintenance prevents clogs, color shifts, and hardware issues.
- Clean Print Heads: Follow the manufacturer’s instructions for routine cleaning.
- Update Software: Keep your RIP and printer firmware up to date for compatibility and new features.
- Store Inks Properly: Eco solvent inks should be stored in a cool, dry place and used before their expiration date.
- Monitor Environmental Conditions: Maintain stable temperature and humidity to prevent print defects.
For a detailed overview of daily care, refer to this eco solvent printer maintenance guide.
Common Challenges and Troubleshooting in the RIP Workflow
Even with the best preparation, issues can arise during the printing process. Here are some frequent challenges and how to address them:
- Banding or Streaks: Usually caused by clogged nozzles or incorrect print head alignment. Perform a nozzle check and cleaning cycle.
- Color Mismatch: Ensure you are using the correct ICC profiles and media settings. Double-check your color management workflow.
- Ink Smudging: Allow adequate drying time and avoid touching prints immediately after output.
- Software Crashes: Keep your RIP software updated and ensure your computer meets system requirements.
If you encounter persistent issues, consult your printer’s manual or reach out to technical support for assistance.
FAQ: Eco Solvent Ink and RIP Workflow
What is the main advantage of using eco solvent inks with a RIP workflow?
The combination of eco solvent inks and a professional RIP process allows for vibrant, durable prints with reduced environmental impact. The workflow ensures precise color management and efficient material use, making it ideal for both indoor and outdoor graphics.
How do I choose the right RIP software for my printer?
Select a RIP program compatible with your printer model and workflow needs. Consider features like ICC profile support, nesting, variable data printing, and ease of use. Popular options include Onyx, Caldera, and Wasatch.
Can I use generic ICC profiles for all media types?
It’s best to use media-specific ICC profiles provided by the printer or media manufacturer. Generic profiles may result in color inaccuracies or excessive ink use, especially with specialty substrates.
How often should I perform maintenance on my eco solvent printer?
Regular maintenance, such as cleaning print heads and checking ink lines, should be done weekly or according to the manufacturer’s recommendations. Proper care extends the life of your equipment and ensures consistent print quality.
Conclusion
Mastering the eco solvent ink rip workflow is key to producing high-quality prints efficiently and sustainably. By following best practices for file preparation, RIP configuration, printing, and post-processing, you can achieve professional results and reduce waste. For more in-depth information on ink chemistry, check out the eco solvent ink chemical composition guide.