
Achieving professional-quality results in latex printing requires careful attention to every stage of the design and production process. One of the most critical yet often misunderstood aspects is how to manage print bleed in latex designs. Proper bleed setup ensures that your graphics, colors, and backgrounds extend seamlessly to the edge of the finished piece, eliminating unwanted white borders and maintaining visual consistency after trimming.
Whether you’re producing banners, posters, packaging, or retail displays, understanding the nuances of bleed in latex printing can save time, reduce waste, and enhance the final product. This article provides practical guidance on setting up bleed, common pitfalls to avoid, and tips for ensuring your latex prints look sharp and professional.
For those interested in how modern prototyping accelerates packaging workflows, see what is digital prototyping for packaging for more insights.
Understanding Bleed in Latex Print Projects
In printing, “bleed” refers to the area of artwork that extends beyond the final trim size. This extra margin ensures that, when the printed sheet is cut to its finished dimensions, there are no unprinted edges or accidental white lines. Bleed is especially important in latex printing, where vibrant colors and full-bleed graphics are common.
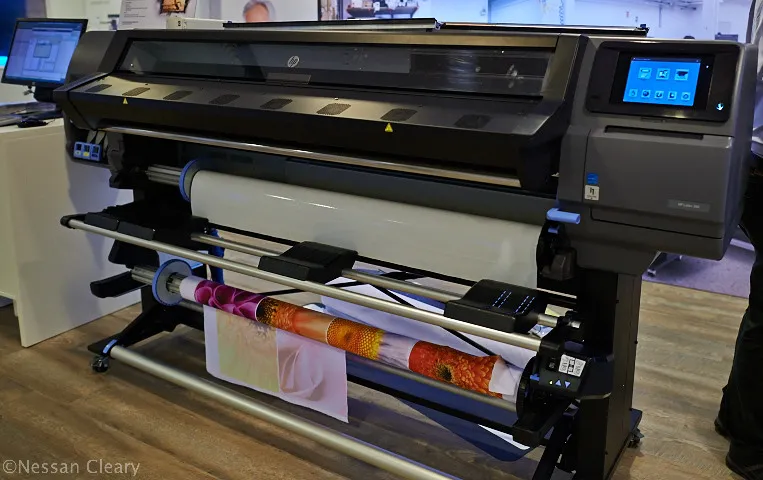
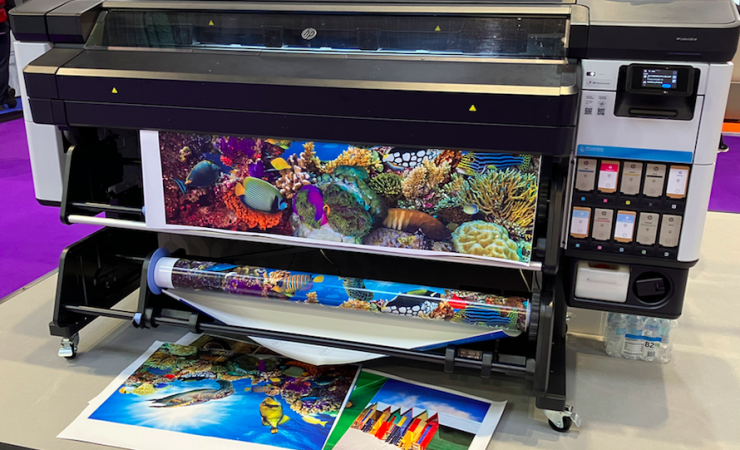
Latex printers, such as those from HP, are known for producing high-quality, durable prints on a wide range of substrates. However, even the best equipment cannot compensate for a design that lacks proper bleed. If the artwork stops at the trim line, minor shifts during cutting can result in visible, uneven borders.
Why Bleed Matters for Latex Printing
Managing bleed correctly is essential for several reasons:
- Professional appearance: Ensures graphics and backgrounds reach the edge of the print, creating a polished look.
- Production accuracy: Compensates for slight variations in cutting or finishing, reducing the risk of white slivers.
- Design flexibility: Allows for creative layouts and edge-to-edge imagery without worrying about misalignment.
For brands and designers, mastering bleed setup is a key part of delivering consistent, high-impact visuals across all latex print applications.
Setting Up Bleed in Your Latex Design Files
The process of adding bleed starts in your design software. Most professional tools—such as Adobe Illustrator, InDesign, or CorelDRAW—allow you to specify a bleed area when creating a new document. Here’s how to approach it:
- Determine the required bleed size: Standard bleed is typically 3mm (about 1/8 inch) on all sides, but always confirm with your print provider, as requirements may vary for different substrates or finishing methods.
- Extend backgrounds and images: Any element meant to reach the edge of the finished print should be extended into the bleed area. Avoid placing important text or logos within the bleed—keep them inside the “safe zone,” at least 3–5mm from the trim line.
- Export with bleed settings enabled: When saving your file as a PDF or other print-ready format, ensure the bleed is included. Most software provides an option to “use document bleed settings” during export.
Common Bleed Mistakes and How to Avoid Them
Even experienced designers can overlook key details when preparing latex print files. Here are some frequent errors and tips for avoiding them:
- Insufficient bleed area: Failing to add enough bleed can result in visible edges after trimming. Always check your document settings and add the recommended margin.
- Forgetting to extend images: Backgrounds or images that stop at the trim line may cause white lines. Make sure all edge-to-edge elements extend fully into the bleed.
- Placing text or logos too close to the edge: Keep critical content well inside the safe zone to prevent accidental cropping.
- Not exporting with bleed: Double-check export settings to ensure the bleed area is included in the final file.
Reviewing your files before sending them to print can save costly reprints and ensure your latex projects meet professional standards.
Best Practices for Bleed in Latex Printing Workflows
To streamline your workflow and minimize errors, consider these best practices:
- Consult your print provider: Every printer and substrate may have unique requirements. Communicate with your print shop to confirm bleed, trim, and safe zone specifications.
- Use templates: Many print providers offer downloadable templates with bleed and trim guides. Using these can help ensure accuracy.
- Calibrate your monitor: Accurate color representation is crucial in latex printing. A calibrated monitor helps you see colors as they will appear in print.
- Proof before printing: Always review a proof, either digital or physical, to check for bleed issues before committing to a full print run.
Integrating Bleed Management with Color and Finishing
Print bleed is just one aspect of preparing latex designs for production. Color management and finishing techniques also play a significant role in the final outcome. For global brands, adopting cloud-based color management can help maintain consistency across multiple print runs and locations.
Additionally, if your project involves special finishes, such as holographic lamination or unique coatings, be sure to account for these in your bleed and trim setup. For more on advanced finishing options, see what is holographic lamination.
Latex Printing: Additional Tips for Success
Beyond bleed, there are several other factors that contribute to successful latex print production:
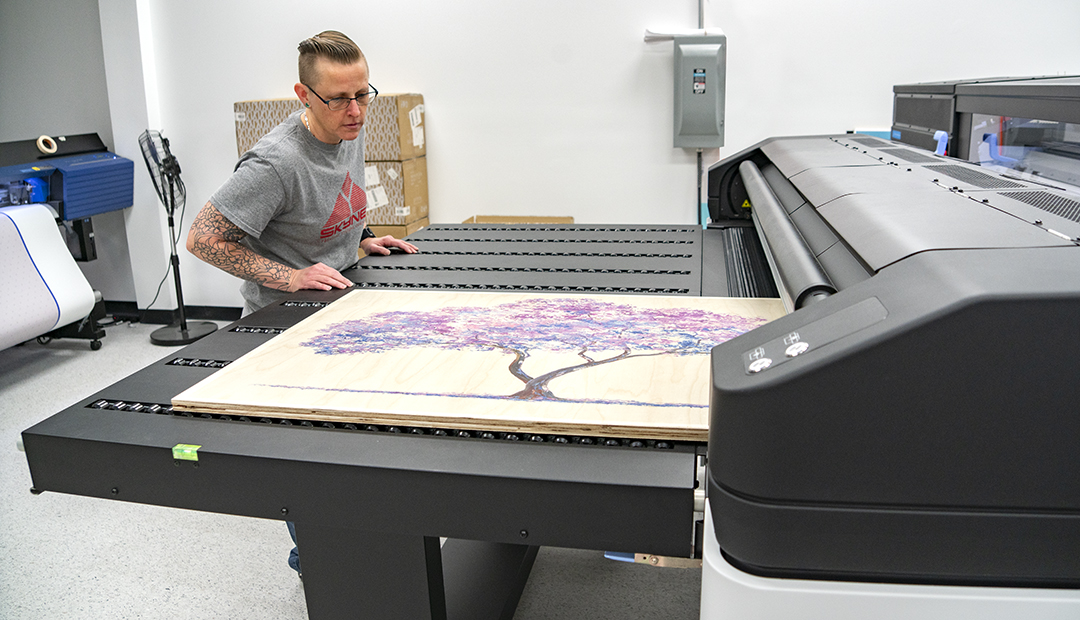
- Choose the right substrate: Latex printers are compatible with a wide range of materials, from vinyl and paper to textiles and rigid boards. Each may have different handling and bleed requirements.
- Monitor environmental conditions: Temperature and humidity can affect ink drying and material stability. Store and handle materials according to manufacturer guidelines.
- Stay updated on technology: Advances in latex printing, such as improved ink formulations and automated finishing, can impact how you approach design and bleed setup. For a deeper look at the benefits of latex technology, see this overview of latex printing advantages.
Frequently Asked Questions
What is the recommended bleed size for latex print jobs?
Most print providers recommend a bleed of 3mm (about 1/8 inch) on all sides for latex projects. However, always confirm with your printer, as some substrates or finishing methods may require more or less bleed.
Can I add bleed after designing my artwork?
While it’s possible to add bleed after the fact, it’s best to set up your document with the correct bleed from the beginning. Adding bleed later may require extending backgrounds or images, which can be time-consuming and may not always produce ideal results.
How do I ensure my colors print accurately on latex materials?
Use a calibrated monitor and work in the correct color profile (typically CMYK for print). Request a proof from your print provider, and consider using cloud-based color management solutions for consistent results across multiple jobs.
What should I do if my design includes special finishes or coatings?
Inform your print provider about any special finishes, such as lamination or spot varnish, during the setup phase. These may affect bleed and trim requirements, so plan accordingly in your design files.
By following these guidelines and best practices, you’ll be well-equipped to handle bleed setup for any latex print project, ensuring your designs look sharp and professional from screen to finished product.


