
Latex printing is a popular choice for producing vibrant, durable graphics on a wide range of materials, from banners and wall coverings to vehicle wraps and signage. To achieve the best results, it’s essential to understand how to prepare artwork for latex printing so that your designs print accurately, with sharp details and true-to-life colors. This guide covers the key steps and best practices for readying your files, ensuring compatibility, and avoiding common mistakes that can compromise quality or delay production.
Whether you’re a designer, print buyer, or production manager, following these guidelines will help you deliver professional results and streamline your workflow. For those interested in broader industry trends, you can also explore recent developments in trends in wood-grain and natural textures on print, which are influencing material choices and design approaches in large-format printing.
Understanding the Latex Printing Process
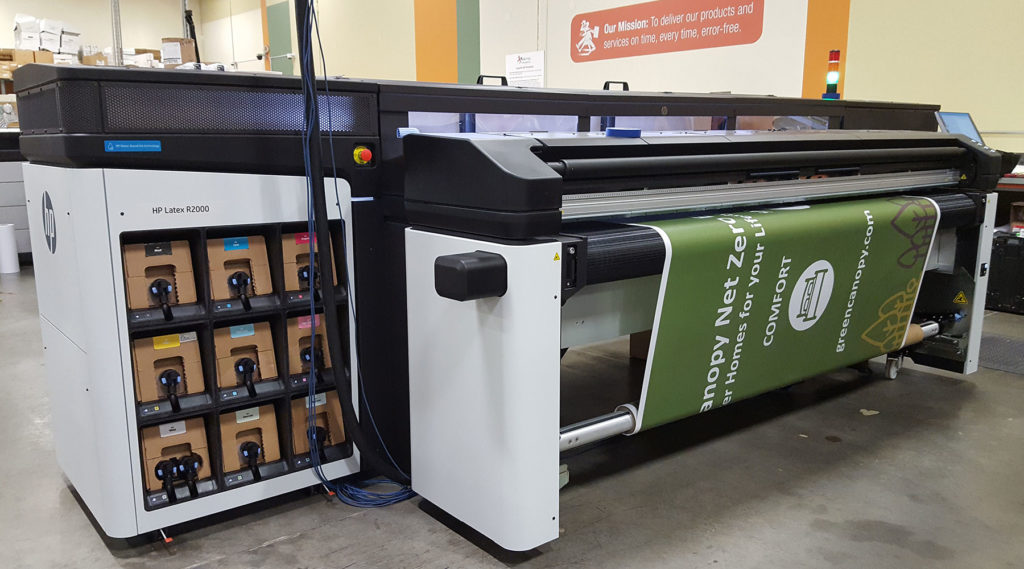
Before diving into file preparation, it’s helpful to know how latex printing works. This technology uses water-based inks that are cured with heat, producing prints that are odorless, flexible, and environmentally friendly. Unlike solvent-based systems, latex printers are compatible with a wide variety of substrates and deliver excellent outdoor durability without the need for additional lamination in many cases.
Because latex inks interact differently with media compared to other ink types, preparing your artwork with the right settings is crucial for color accuracy and sharpness. For a comparison of latex and eco-solvent technologies, see this detailed breakdown of latex vs. eco-solvent printing.
File Formats and Resolution for Optimal Results
Choosing the correct file format and resolution is a foundational step in preparing artwork for latex printing. Most print providers recommend using vector formats like PDF, AI, or EPS for logos and graphics, as these can be scaled without loss of quality. For photographic images or complex designs, high-resolution raster files such as TIFF or flattened PSD are preferred.
- Resolution: For large-format prints, 150–300 dpi at final output size is typically sufficient. Higher resolutions may not improve quality but will increase file size and processing time.
- Color Mode: Always convert files to CMYK color mode, as latex printers use this color space. Avoid submitting files in RGB to prevent unexpected color shifts.
- Bleed and Safe Area: Add at least 0.125″ (3mm) bleed on all sides, and keep important elements within a safe margin to avoid trimming issues.

Color Management and Calibration
Accurate color reproduction is a top priority in large-format printing. To ensure your prints match your expectations, follow these color management tips:
- Calibrate Your Monitor: Use a hardware calibrator regularly to keep your screen colors consistent with print output.
- Embed ICC Profiles: When saving your files, embed the appropriate ICC color profile provided by your print shop or media manufacturer.
- Soft Proofing: Preview your artwork using the printer’s profile in your design software to anticipate color shifts before printing.
For more on achieving photographic quality, especially on challenging substrates, see the guide to producing photographic quality on corrugated flutes.
Preparing Artwork for Different Substrates
Latex printers can handle a wide range of materials, including vinyl, canvas, paper, textiles, and specialty films. Each substrate may require slight adjustments in your artwork preparation:
- Vinyl and Adhesives: For vehicle wraps or decals, use vector paths for cut lines and ensure all fonts are outlined.
- Textiles and Fabrics: Increase bleed and avoid fine details near edges, as fabric can stretch during finishing.
- Wallcoverings: Plan for panel overlaps and match patterns carefully to avoid visible seams.
Always consult your print provider for substrate-specific guidelines, as media thickness and surface texture can affect ink absorption and color vibrancy.

Checklist for Submitting Print-Ready Files
To avoid production delays and ensure your project prints as intended, review this checklist before submitting your artwork:
- Convert all fonts to outlines or embed them in your file.
- Flatten transparencies and layers to prevent unexpected results.
- Remove unused color swatches and hidden objects.
- Double-check document size, bleed, and safe area settings.
- Embed or link all images at the correct resolution.
- Save a copy of your file in the preferred format (PDF/X-4 is widely accepted).
Following these steps will help your print provider process your job efficiently and minimize the risk of costly reprints.
Common Mistakes to Avoid
Even experienced designers can overlook details that impact print quality. Here are some frequent issues to watch for when preparing files for latex output:
- Submitting files in RGB instead of CMYK, leading to color mismatches.
- Insufficient bleed, resulting in white edges after trimming.
- Low-resolution images, which appear pixelated or blurry at full size.
- Forgetting to outline fonts, causing font substitutions if the printer lacks your typeface.
- Neglecting to check for overprint settings, which can cause elements to disappear in print.
By addressing these pitfalls in advance, you can ensure a smooth production process and professional results every time.
Advanced Tips for Professional Results
For those looking to elevate their print projects, consider these advanced techniques:
- Spot Colors: Use spot colors for brand-critical elements to maintain consistency across different media.
- White Ink Layers: For printing on clear or colored substrates, create a separate white ink layer as needed.
- Variable Data: If producing personalized graphics, set up variable data fields in your design software and test with sample data.
- Solvent-Free Approaches: For environmentally conscious projects, explore the guide to solvent-free printing processes for additional best practices.
Frequently Asked Questions
What file format is best for latex printing?
PDF/X-4 is widely accepted for its reliability and compatibility. For vector graphics, AI or EPS files are also suitable. For images, high-resolution TIFF or flattened PSD files are recommended.
How much bleed should I add to my artwork?
Include at least 0.125″ (3mm) bleed on all sides of your design. This ensures that your artwork extends past the trim edge, preventing unwanted white borders after cutting.
Why is color calibration important for latex printing?
Color calibration ensures that what you see on your monitor matches the final print as closely as possible. Using a monitor calibrator and embedding the correct ICC profiles help achieve consistent, accurate colors in your output.
Can I use RGB images for latex printing?
It’s best to convert all images and artwork to CMYK before submitting your files. Latex printers operate in CMYK, and submitting RGB files can result in unexpected color shifts.
What substrates can be used with latex printers?
Latex printers are compatible with a wide range of materials, including vinyl, canvas, paper, textiles, and specialty films. Always check with your print provider for specific recommendations based on your project.


