Printing crisp, detailed images on cardboard is essential for packaging, displays, and creative projects. Achieving professional results requires more than just a high-quality image file—it involves understanding cardboard’s unique surface, choosing the right printing method, and preparing your artwork for optimal clarity. This guide will walk you through the key steps and best practices for producing sharp, vibrant prints on cardboard, whether you’re working with packaging prototypes, retail displays, or custom art pieces.
Before diving into the technical process, it’s helpful to understand how modern printing techniques and materials can impact your results. For those interested in the latest advancements, learning about what is digital prototyping for packaging can offer valuable insights into speeding up production and improving print quality on various substrates, including cardboard.
Understanding Cardboard as a Printing Surface
Cardboard is a versatile material, but its fibrous, porous nature presents unique challenges for printing. Unlike glossy paper, cardboard absorbs ink differently, which can affect image sharpness and color vibrancy. The type of cardboard—corrugated, chipboard, or coated—also influences the final result. For high-resolution image printing on cardboard, it’s crucial to select the right substrate and adjust your process accordingly.
- Corrugated cardboard: Common for shipping boxes; has a fluted inner layer that can cause uneven surfaces.
- Chipboard: Denser and smoother, ideal for retail packaging and displays.
- Coated cardboard: Features a smooth, often glossy surface that holds ink better and provides sharper detail.
Preparing Your Artwork for Optimal Results
To ensure your images look crisp and professional, start with a high-resolution file—at least 300 DPI (dots per inch) at the intended print size. Use CMYK color mode for accurate color reproduction, and avoid heavy gradients or fine lines that may blur on textured surfaces. Consider these tips:
- Convert all text to outlines to prevent font issues.
- Embed images rather than linking them in your design file.
- Add a bleed area (typically 1/8 inch) to prevent white edges after trimming.
- Use vector graphics for logos and line art when possible, as they scale without losing quality.
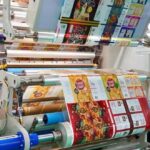
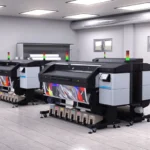
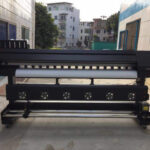
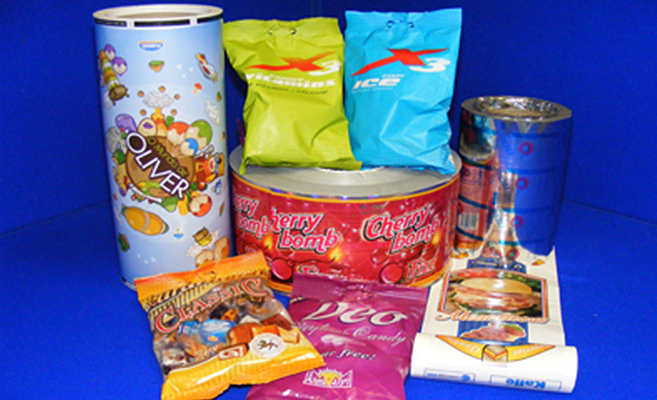
Choosing the Right Printing Method for Sharp Images
Several printing technologies are suitable for cardboard, each with its pros and cons. The best choice depends on your project’s scale, budget, and quality requirements.
- Digital Printing: Ideal for short runs and prototypes, digital presses deliver excellent detail and color accuracy. This method is perfect for custom packaging or when you need to print multiple designs in small quantities.
- Offset Lithography: Offers superior image quality and consistency for large runs. Offset printing works best with coated cardboard and is commonly used for retail packaging and displays.
- Flexography: Widely used for corrugated boxes, flexo printing is cost-effective for high-volume jobs but may not achieve the same sharpness as digital or offset methods.
- Screen Printing: Suitable for bold graphics and specialty finishes, but less effective for detailed photographic images.
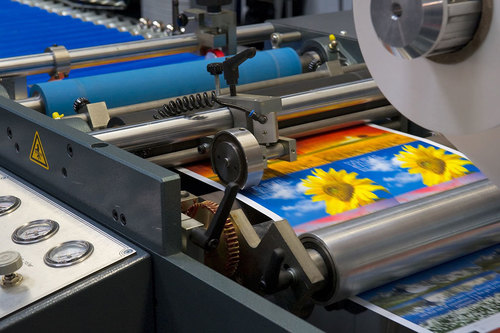
Best Practices for Achieving Crisp Prints on Cardboard
To maximize image clarity and color accuracy, follow these proven techniques:
- Use high-quality inks designed for cardboard to prevent bleeding and fading.
- Test print on a sample piece to check for color shifts and sharpness before running the full job.
- Calibrate your printer regularly and use color profiles tailored for cardboard substrates.
- Control humidity in the print environment, as moisture can warp cardboard and affect ink absorption.
- Allow sufficient drying time to avoid smudging, especially with heavy ink coverage.
For brands managing color consistency across global packaging, exploring the benefits of cloud-based color management can help ensure accuracy and streamline workflows.
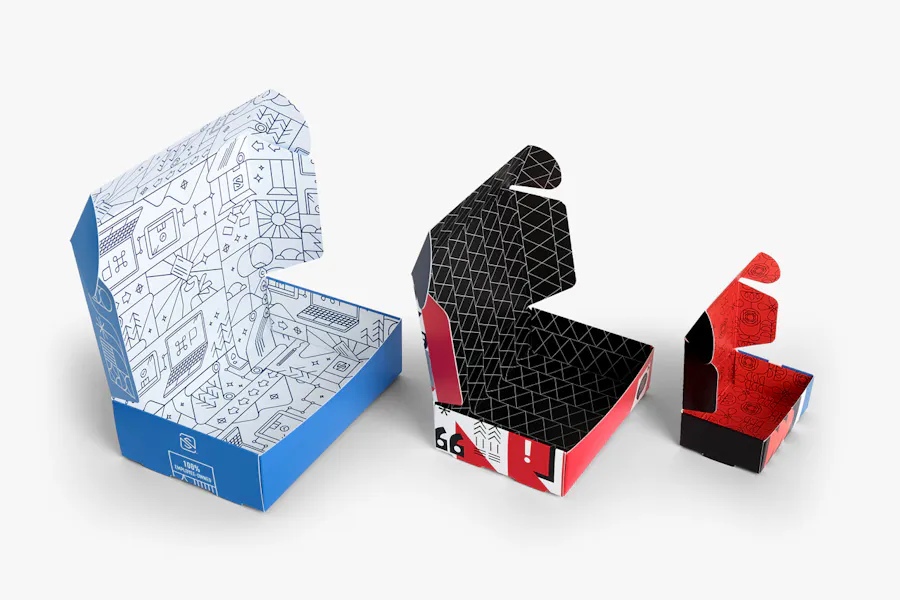
Finishing Touches: Protecting and Enhancing Your Prints
Once your images are printed, consider adding protective coatings or laminates to enhance durability and appearance. Options include:
- Aqueous coating: Provides a subtle sheen and protects against fingerprints and scuffs.
- UV coating: Offers a high-gloss finish and increased scratch resistance.
- Lamination: Adds a plastic film for maximum protection and a premium feel.
Specialty finishes like holographic lamination can also create eye-catching effects for promotional packaging and displays.
Emerging Trends and Future Directions in Cardboard Printing
The world of cardboard printing is evolving rapidly, with new technologies enabling even higher image fidelity and creative possibilities. Digital prototyping, eco-friendly inks, and automation are making it easier to produce short runs and personalized packaging. For a glimpse into what’s ahead, check out this overview of future trends in print and packaging to stay informed about industry innovations.
As consumer expectations for packaging aesthetics and sustainability rise, mastering the art of printing detailed images on cardboard will remain a valuable skill for designers, marketers, and manufacturers alike.
Frequently Asked Questions
What resolution is best for printing images on cardboard?
For sharp, professional results, use image files with a minimum of 300 DPI at the final print size. This ensures that details remain crisp and colors are accurately reproduced, even on textured or absorbent cardboard surfaces.
Can I use regular inkjet or laser printers for cardboard?
Standard inkjet and laser printers can handle thin cardboard or cardstock, but for thicker or corrugated materials, specialized printers and inks are recommended. Always check your printer’s specifications and perform a test print before starting a full run.
How can I prevent colors from looking dull when printing on cardboard?
Choose coated or treated cardboard for better ink holdout, use high-quality inks, and calibrate your printer with the correct color profile. Adding a protective coating or laminate can also enhance vibrancy and protect the print from fading or smudging.