
Achieving precise color results in latex printing is essential for professionals in signage, packaging, and fine art reproduction. The process of how to proof latex prints ensures that what you see on your screen matches the final print, reducing costly errors and reprints. This article provides a practical roadmap for color proofing in latex printing workflows, covering calibration, soft proofing, test prints, and troubleshooting common issues.
Latex printing technology offers vibrant, durable results on a wide range of substrates. However, without a reliable proofing process, even the best equipment can produce unexpected color shifts. Whether you’re a print shop owner or a designer preparing files for production, understanding the nuances of color management is crucial for consistent, high-quality output.
For those interested in expanding their print expertise, exploring related topics such as how to achieve photographic quality on corrugated flutes can provide valuable insights into advanced substrate handling and color reproduction.
Understanding the Importance of Color Proofing in Latex Printing
Color proofing is the process of simulating the final print’s appearance before committing to a full production run. In latex printing, this step is especially important due to the unique ink chemistry and substrate diversity. Proper proofing helps:
- Ensure color consistency across different jobs and substrates
- Reduce waste by catching errors early
- Meet client expectations for brand and product colors
- Optimize workflow efficiency
By integrating a structured proofing routine, print professionals can deliver reliable, repeatable results that build trust with clients and streamline operations.
Key Steps to Proofing Latex Prints for Reliable Color Output
To master how to proof latex prints, follow these essential steps:
1. Calibrate Your Monitor and Printer
Accurate color starts with a properly calibrated monitor and printer. Use a hardware calibration device to adjust your monitor’s color profile, brightness, and contrast. This step ensures that the colors you see on screen are as close as possible to what your printer can reproduce. For the printer, create or update ICC profiles tailored to your specific latex printer model and the substrate you’re using.
Regular calibration—ideally every few weeks or after major environmental changes—helps maintain consistency over time. Investing in a reliable monitor calibrator can make this process straightforward and effective.
2. Use Soft Proofing in Your Design Software
Soft proofing allows you to preview how your design will look when printed using the selected ICC profile. Most professional design applications, such as Adobe Photoshop or Illustrator, offer soft proofing features. Select the correct printer and substrate profile, then enable soft proofing to view potential color shifts or gamut issues before printing.
This digital preview is not a substitute for a physical proof, but it helps identify glaring mismatches early in the process. Adjust your design as needed to ensure colors remain within the printable range of your latex printer.
3. Print a Physical Test Proof
Once you’re satisfied with the soft proof, print a small-scale or sectioned test proof on the actual substrate. Use the same printer settings, ink, and media as the final job. Examine the proof under standardized lighting conditions (such as D50 or daylight-balanced light) to accurately assess color fidelity.
Compare the test print to your monitor and the client’s expectations. If discrepancies appear, make incremental adjustments to your file or printer settings and repeat the proofing process until the desired result is achieved.
4. Troubleshoot Common Color Issues
Even with careful preparation, color discrepancies can occur. Common causes include:
- Outdated or incorrect ICC profiles
- Environmental changes affecting ink or substrate
- Uncalibrated monitors or printers
- Incorrect print settings or media selection
Address these issues by updating profiles, recalibrating equipment, and double-checking all workflow steps. If persistent problems arise, consult your printer manufacturer’s support resources or consider professional color management training.
Best Practices for Consistent Latex Print Proofing
To ensure ongoing accuracy in your latex print production, adopt these best practices:
- Document your workflow: Keep detailed notes on calibration dates, profiles used, and print settings for each job.
- Standardize lighting: Always evaluate proofs under consistent, color-correct lighting conditions.
- Regularly update software and firmware: Stay current with the latest updates for your printer, RIP software, and design tools.
- Train your team: Ensure all staff involved in proofing understand the importance of color management and follow established procedures.
Following these guidelines will help you maintain a predictable, high-quality output and reduce the risk of costly reprints or dissatisfied clients.
Leveraging Technology and Resources
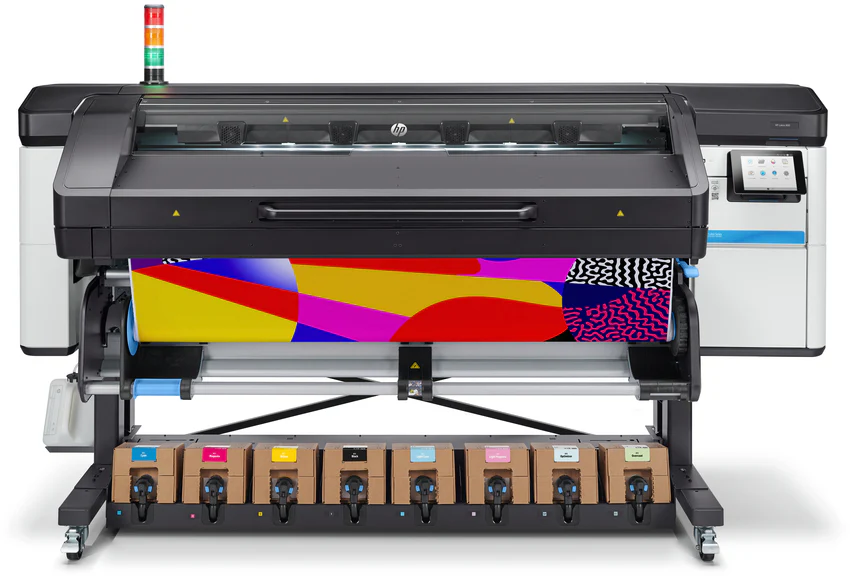
Modern latex printers, such as those using advanced HP latex printing technology, offer built-in color management features and support for custom ICC profiles. Take advantage of these capabilities to streamline your proofing process and achieve the most accurate results possible.
For those interested in sustainable and innovative printing methods, exploring resources like the guide to solvent-free printing processes can provide additional strategies for improving print quality and environmental impact.
Frequently Asked Questions
What is the difference between soft proofing and hard proofing in latex printing?
Soft proofing is a digital preview of your print using your monitor and ICC profiles, allowing you to see how colors will appear before printing. Hard proofing involves producing a physical test print on the actual substrate, which provides a tangible reference for final color output. Both steps are important for accurate results.
How often should I calibrate my monitor and printer for latex print proofing?
It’s recommended to calibrate your monitor at least once a month, or more frequently if your workspace lighting changes. Printers should be recalibrated whenever you switch substrates, inks, or after significant environmental changes to maintain color accuracy.
Why do my latex prints look different from what I see on my screen?
Differences can result from uncalibrated monitors, incorrect ICC profiles, or using the wrong print settings. Always calibrate your equipment, use accurate profiles, and proof your prints under standardized lighting to minimize discrepancies.
Conclusion
Mastering how to proof latex prints is essential for anyone seeking reliable, high-quality color output in professional printing. By calibrating your equipment, using soft proofing, producing physical test prints, and following best practices, you can ensure that your final prints meet expectations every time. Leverage the latest technology and resources to stay ahead in the evolving world of latex printing, and continue to refine your workflow for even better results.


