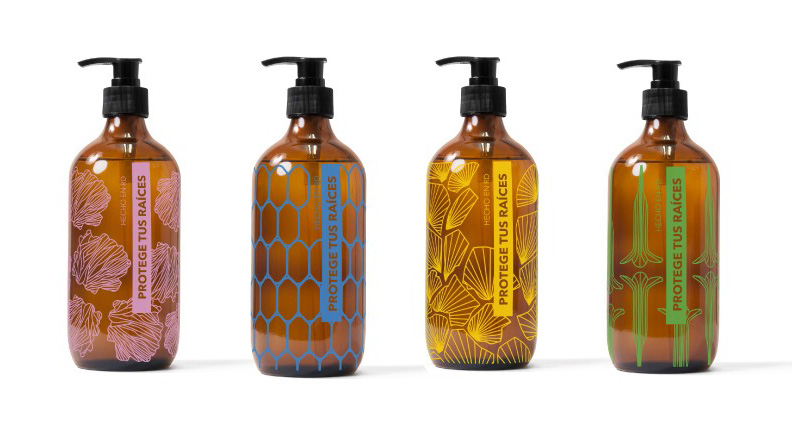

Achieving crisp, vibrant results on glass surfaces requires a careful approach and attention to detail. Whether you’re printing on cosmetic bottles, signage, or decorative panels, the clarity and sharpness of your prints can make all the difference. This guide explores the key factors that influence glass printing image quality, practical steps to enhance your results, and common pitfalls to avoid for consistently professional outcomes.
From choosing the right inks and surface preparation to understanding print resolution and curing processes, every stage impacts the final look. Before diving into the technical details, it’s helpful to learn from the experience of others. If you want to avoid frequent pitfalls, check out this resource on common mistakes in glass printing for practical advice.
Understanding What Affects Print Clarity on Glass
The sharpness and vibrancy of images printed on glass depend on several interconnected factors. Unlike printing on paper or plastic, glass presents unique challenges due to its non-porous, smooth surface. The following elements play a major role in determining the outcome:
- Surface Preparation: Any dust, grease, or residue can prevent ink from adhering properly, leading to blurred or patchy prints.
- Ink Selection: Specialized inks formulated for glass ensure better adhesion, color density, and durability.
- Printing Method: Techniques like screen printing, digital UV printing, and pad printing each offer different levels of detail and finish.
- Resolution and Artwork Quality: High-resolution images and vector graphics produce the sharpest results.
- Curing and Drying: Proper curing (UV or heat) locks in the ink and prevents smudging or fading.
By optimizing each of these areas, you can significantly improve the overall glass printing image quality and achieve consistently sharp prints.
Essential Steps for Achieving Crisp Prints on Glass
To maximize clarity and color accuracy, follow these proven steps:
-
Thoroughly Clean the Glass Surface
Start by washing the glass with a mild detergent, then wipe with isopropyl alcohol to remove any remaining oils or residues. Even tiny particles can cause ink to bead or spread unevenly.
-
Choose the Right Ink
Use inks specifically designed for glass. These inks contain adhesion promoters and are formulated to resist scratching and fading. For example, UV-curable inks are popular for their durability and vibrant finish.
-
Optimize Artwork Resolution
Prepare your artwork at a minimum of 300 DPI for photographic images. For logos or text, use vector files to ensure crisp edges at any size.
-
Select the Best Printing Technique
Screen printing is ideal for bold, opaque colors and simple graphics, while digital UV printing excels at detailed, full-color images. Consider the end use and desired effect when choosing your method.
-
Control the Printing Environment
Maintain consistent temperature and humidity to prevent ink flow issues. Dust-free environments help avoid contamination that can affect print sharpness.
-
Ensure Proper Curing
Follow the manufacturer’s guidelines for curing times and temperatures. Inadequate curing can result in smudging or reduced adhesion.
Choosing the Right Materials for Superior Results
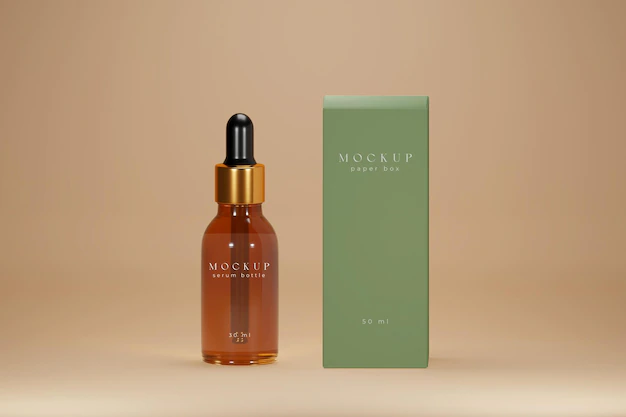
Material selection is fundamental to achieving high-definition prints. Not all glass is created equal—variations in composition, thickness, and surface treatment can influence print quality. For applications in luxury packaging or interior design, premium glass with minimal imperfections is preferred. If you’re interested in decorative uses, explore these glass wall art ideas for inspiration.
In addition to the substrate, the choice of ink and pre-treatment chemicals is crucial. For example, some glass surfaces benefit from flame or plasma treatment to increase ink adhesion. Always test your materials before full production runs to ensure compatibility and optimal results.
Common Challenges and How to Overcome Them
Even with careful preparation, several issues can affect the sharpness and durability of prints on glass. Here’s how to address the most frequent challenges:
- Ink Bleeding or Spreading: This often results from excess humidity, dirty surfaces, or using the wrong ink type. Double-check your cleaning process and select inks formulated for glass.
- Poor Adhesion: If prints scratch off easily, the glass may need additional surface treatment, or the curing process may be insufficient. Review manufacturer recommendations for both ink and substrate.
- Faded or Dull Colors: Low-quality inks or improper curing can cause colors to appear washed out. Use high-quality, UV-stable inks and follow precise curing protocols.
- Misalignment or Blurry Edges: This can occur if the artwork is not properly registered or if the print head is misaligned. Regularly calibrate your equipment and use registration marks for multi-color jobs.
For more advanced applications, such as electronics or industrial uses, see this overview of industrial glass printing uses to understand specialized requirements.
Advanced Tips for Professional-Grade Glass Prints
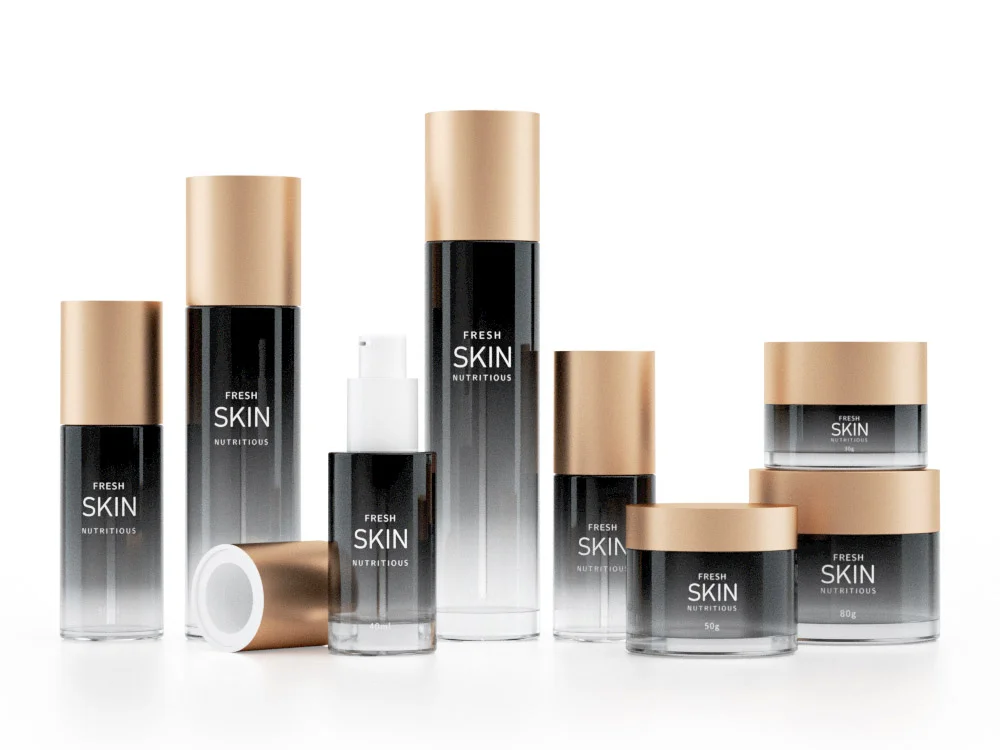
For those seeking the highest level of detail and longevity, consider these advanced strategies:
- Use Multi-Layer Printing: Layering white ink beneath color images can enhance vibrancy, especially on clear glass.
- Experiment with Specialty Inks: Metallic, frosted, or textured inks can add depth and visual interest to your designs.
- Invest in High-Precision Equipment: Modern digital printers with fine nozzles and advanced registration systems deliver exceptional detail.
- Monitor Environmental Conditions: Consistent temperature and humidity are essential for repeatable, high-quality results.
For inspiration on how glass printing elevates interior spaces, see these impressive ideas for glass in luxury interior design.
Frequently Asked Questions
How can I prevent ink from peeling off glass surfaces?
Proper surface cleaning and the use of glass-specific inks are crucial. Consider pre-treating the glass with flame or plasma techniques to increase adhesion. Always follow the recommended curing process for your chosen ink.
What resolution should I use for artwork intended for glass printing?
For photographic images, a resolution of at least 300 DPI is recommended. For logos and text, use vector files to maintain sharpness at any size. This ensures your prints remain crisp and detailed.
Which printing method offers the best detail for glass?
Digital UV printing provides the highest level of detail and color accuracy, making it ideal for intricate designs and photographic images. Screen printing is better suited for bold, opaque graphics and larger runs.
Conclusion
Attaining outstanding glass printing image quality is a result of meticulous preparation, the right material choices, and careful process control. By following best practices for cleaning, artwork preparation, ink selection, and curing, you can consistently produce sharp, vibrant prints that stand out. For more specialized applications, explore topics like smart device glass printing or printed glass memorial products to expand your expertise in this evolving field.