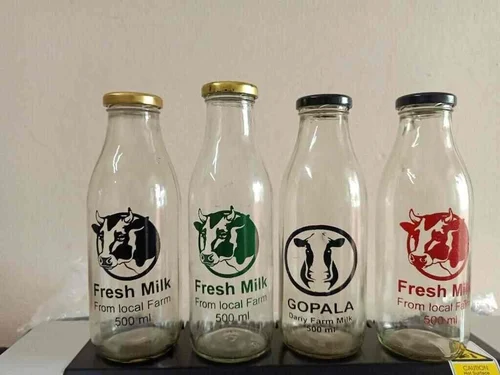

Understanding glass printing file requirements is essential for anyone preparing artwork or graphics for direct printing on glass surfaces. Whether you’re working with bottles, panels, or custom displays, the right file setup ensures sharp, vibrant, and durable results. This article breaks down the technical specifications, preferred formats, and practical tips for preparing print-ready files for glass applications.
Proper file preparation not only streamlines the production process but also helps avoid costly errors and reprints. By following industry standards and best practices, you can ensure your designs translate beautifully from screen to glass. For those interested in avoiding common pitfalls, you may also want to review the common mistakes in glass printing and how to prevent them.
Why File Preparation Matters for Glass Printing
Printing on glass presents unique challenges compared to paper or plastic. The surface is non-porous, often curved, and may require special inks or curing processes. As a result, the specifications for print files are more stringent. A well-prepared file ensures:
- Accurate color reproduction
- Sharp, crisp details
- Proper alignment on curved or irregular surfaces
- Compatibility with screen printing, UV printing, or digital glass printers
Neglecting these requirements can lead to blurred images, color mismatches, or even rejected jobs at the print shop.
Accepted File Formats for Glass Printing
Most glass printing providers accept a range of file formats, but some are preferred for their reliability and quality. The most common formats include:
- Vector files (AI, EPS, PDF): Best for logos, line art, and graphics that need to scale without loss of quality.
- High-resolution raster files (TIFF, PSD, PNG): Suitable for photographic images or complex artwork. Always ensure files are flattened and at the correct resolution.
- PDF/X-1a: A print industry standard, ensuring fonts are embedded and colors are preserved.
When in doubt, consult your printer’s guidelines or ask for a template. Some advanced processes, such as smart device glass printing, may require specific file types or layers for coatings and effects.
Key Specs: Resolution, Color, and Bleed
To meet glass printing file requirements, your artwork should adhere to these technical specifications:
| Specification | Recommended Value | Notes |
|---|---|---|
| Resolution | 300 dpi (dots per inch) | For raster images; vector files are resolution-independent. |
| Color Mode | CMYK | Ensures accurate color printing; avoid RGB for final files. |
| Bleed | 2–5 mm | Extends artwork beyond trim for edge-to-edge printing. |
| Fonts | Outlined or Embedded | Prevents font substitution issues. |
| Transparency | Flattened | Reduces unexpected print results. |
Always double-check the print provider’s specific requirements, as some processes or machines may have unique needs.
Design Considerations for Glass Surfaces
Unlike flat paper, glass objects can be cylindrical, curved, or even irregularly shaped. Here are some practical tips for preparing your files:
- Use die-lines or templates provided by your printer to ensure artwork fits the object’s shape.
- Account for distortion on curved surfaces—test with mockups or ask for a digital proof.
- Keep important elements away from edges to avoid cropping or warping.
- Consider opacity: White ink or underbase layers may be needed for vibrant colors on clear glass.
For creative inspiration and advanced techniques, see these glass printing methods and options.
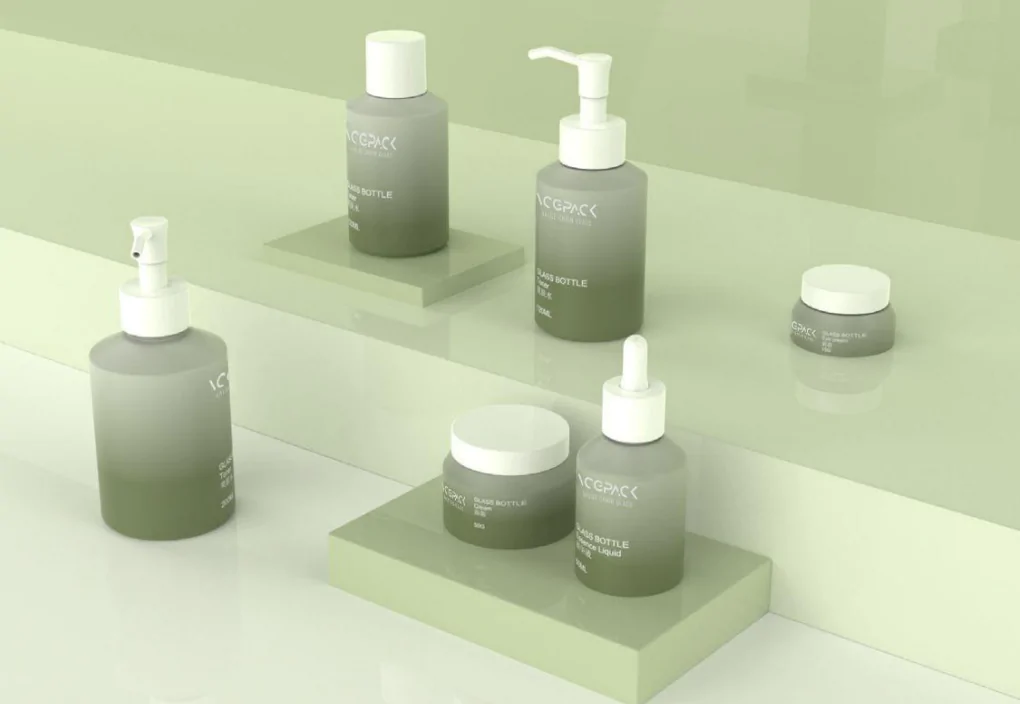
Preparing Artwork for Different Glass Printing Methods
The file requirements for glass printing can vary depending on the printing technology used. Here’s a breakdown of the most common methods:
Screen Printing
Screen printing on glass is ideal for simple graphics and solid colors. Files should be vector-based, with each color on a separate layer. Avoid gradients and use spot colors for best results.
UV Digital Printing
UV printers can handle full-color images and gradients. High-resolution raster files (300 dpi, CMYK) are suitable. Transparency and white ink layers may be needed for certain effects.
Etching and Sandblasting
For etched designs, provide crisp, high-contrast vector files. Thin lines or small text should be avoided, as they may not reproduce well on glass.

Tips for a Smooth File Submission Process
- Always use the printer’s template if available, especially for bottles or shaped glass.
- Double-check all text for spelling and font conversion (outline or embed).
- Flatten all layers and transparencies before exporting the final file.
- Include a low-res proof (JPEG or PDF) for reference.
- Clearly label files with your name, project, and date.
For those interested in how printed glass can enhance branding, see more about branding opportunities with printed glass and how to leverage unique finishes and effects.
Common Issues and How to Avoid Them
Even experienced designers can run into problems when preparing files for glass printing. Some frequent issues include:
- Low-resolution images leading to pixelation
- Incorrect color mode (RGB instead of CMYK)
- Missing bleed or safety margins
- Fonts not outlined or embedded, causing substitutions
- Unflattened transparencies resulting in unexpected results
Reviewing your files against the printer’s checklist can help prevent these setbacks. For more on advanced applications, explore industrial glass printing uses in manufacturing and technology.
Frequently Asked Questions
What is the best file format for glass printing?
Vector formats like AI, EPS, or PDF are preferred for logos and line art, while high-resolution TIFF or PSD files are suitable for photos. Always check with your printer for their preferred format.
How much bleed should I add to my artwork?
Most printers recommend a bleed of 2–5 mm to ensure edge-to-edge coverage. This allows for slight shifts during printing and trimming, preventing unwanted white edges.
Can I use RGB images for glass printing?
No, final print files should be in CMYK color mode. RGB is for screens and may not reproduce accurately in print. Convert your files to CMYK before submitting.
How do I prepare files for printing on curved glass bottles?
Use the bottle template provided by your printer. Account for the curvature by keeping important details away from the edges and testing with a mockup or digital proof.
Do I need to include a white ink layer for clear glass?
Yes, if you want opaque or vibrant colors on clear glass, a white ink underbase is often required. Check with your printer for specific instructions on how to set up this layer in your file.
Conclusion
Meeting the correct glass printing file requirements is key to achieving professional, high-quality results. By following the recommended specs, using the right file formats, and communicating closely with your printer, you can ensure your designs look their best on any glass surface. For more creative ideas, see colored glass decoration methods for vibrant spaces.