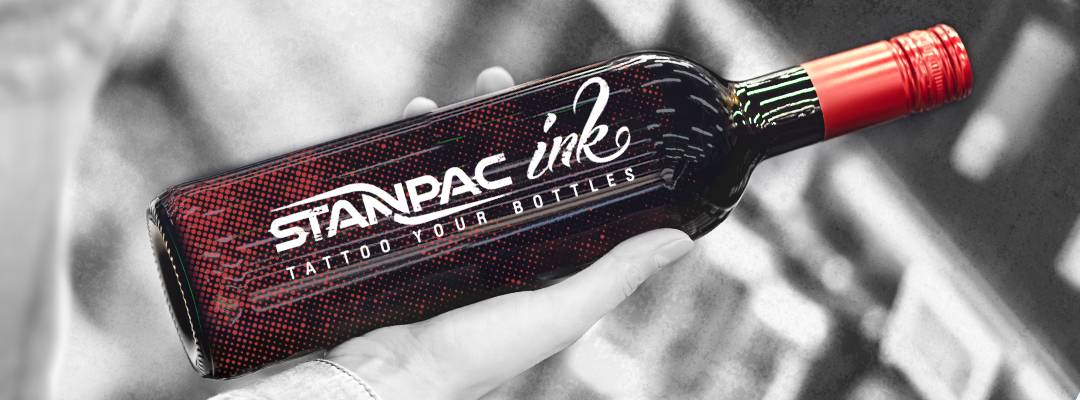

The art and science of printing on glass have transformed how products, art, and signage are created and displayed. From custom bottles to architectural features, understanding how designs are transferred onto glass surfaces is essential for manufacturers, designers, and hobbyists alike. In this guide, the glass printing process explained will be broken down into clear, actionable steps, highlighting the techniques, equipment, and best practices that define this specialized craft.
Whether you’re interested in producing branded glassware, decorative panels, or unique gifts, knowing the fundamentals of glass printing can help you achieve professional results. We’ll also point out common pitfalls and link to further resources, such as common mistakes in glass printing, so you can avoid setbacks and produce high-quality printed glass every time.
What Is Glass Printing?
Printing on glass involves applying images, patterns, or text onto glass surfaces using specialized inks, screens, or digital technology. The goal is to create a durable, visually appealing result that withstands handling, washing, and environmental exposure. The glass printing process explained here covers both traditional and modern approaches, including screen printing, digital UV printing, and etching.
Applications range from commercial packaging and promotional products to industrial panels and decorative art. For more on large-scale installations, see public art on glass installations for inspiration and technical considerations.
Step-by-Step Breakdown of the Glass Printing Workflow
1. Preparing the Glass Surface
Proper preparation is the foundation of successful glass printing. The surface must be clean, free of dust, oils, and residues. This ensures that inks or etching creams adhere correctly and produce crisp, long-lasting results.
- Cleaning: Use isopropyl alcohol or a dedicated glass cleaner. Avoid leaving fingerprints or lint.
- Drying: Let the glass air dry or use a lint-free cloth.
2. Choosing the Printing Technique
There are several methods for transferring designs onto glass, each with unique advantages:
- Screen Printing: Ideal for high-volume runs and bold, opaque designs. Uses a mesh screen and squeegee to push ink onto the glass.
- Digital UV Printing: Suitable for full-color, detailed images. UV-curable inks are applied directly and cured instantly with ultraviolet light.
- Etching: Uses abrasive or chemical processes (like etch cream) to create frosted or textured effects.
For an in-depth look at the technology and its applications, explore this detailed overview of glass printing methods.
3. Creating and Preparing Artwork
Artwork must be adapted for the chosen printing process. This often means converting images to high-contrast, vector formats for screen printing, or ensuring high-resolution files for digital printing. Registration marks and color separations may be needed for multi-color jobs.
4. Setting Up the Printing Equipment
Each method requires specific equipment:
- Screen Printing: Prepare the screen with emulsion and expose it to create the stencil. Align the glass under the screen for precise placement.
- Digital Printing: Load the artwork into the printer’s software. Adjust settings for glass substrate and ink type.
- Etching: Apply stencils or masking tape to protect areas not being etched.
5. Applying the Design
With everything set, the actual printing or etching can begin:
- Screen Printing: Place ink on the screen and use a squeegee to press it through the mesh onto the glass. Repeat for each color layer, allowing drying time between passes.
- Digital Printing: The printer applies the image in a single pass. UV light instantly cures the ink, bonding it to the glass.
- Etching: Spread etch cream over exposed areas, wait the recommended time, then rinse thoroughly.
6. Curing and Finishing
After printing, the glass must be cured or heat-treated to ensure durability. This may involve:
- Air Drying: For some inks, especially in small runs.
- Heat Curing: Baking the glass in a kiln or oven to set the ink.
- UV Curing: Used in digital printing for immediate results.
Finishing steps may include inspecting for defects, cleaning excess ink, or applying protective coatings. For inspiration on creative uses, check out glass wall art ideas for contemporary decor possibilities.
Key Considerations for Quality Results
To achieve the best outcomes when working with glass printing, keep these factors in mind:
- Ink Compatibility: Use inks formulated for glass to ensure adhesion and resistance to wear.
- Surface Preparation: Any residue or moisture can cause defects or peeling.
- Environmental Controls: Humidity and temperature can affect ink drying and curing.
- Testing: Always test on a sample piece before full production runs.
For more on professional and industrial applications, see industrial glass printing uses to understand how these principles scale up in manufacturing and technology sectors.
Common Applications of Glass Printing
The versatility of glass printing means it is used in a wide range of industries and creative fields:
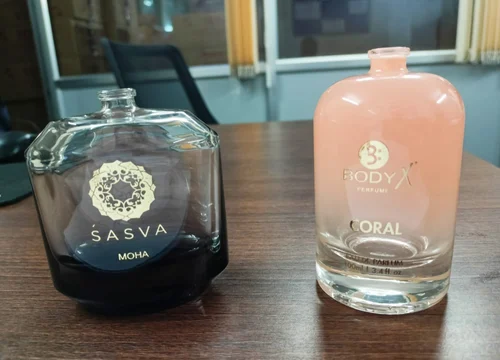
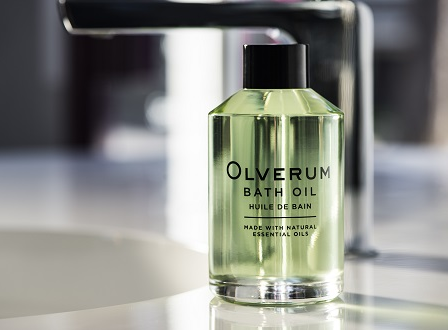
- Packaging: Bottles for beverages, cosmetics, and perfumes.
- Decorative Art: Wall panels, signage, and custom gifts.
- Memorial Products: Personalized tributes and commemorative items, as detailed in printed glass memorial products.
- Architectural Features: Doors, partitions, and facades.
Frequently Asked Questions
What is the most durable method for printing on glass?
Screen printing with ceramic inks and proper heat curing produces highly durable results, making it a preferred choice for industrial and food-safe applications. Digital UV printing is also robust for decorative and commercial uses.
Can I print on glass at home?
Yes, with the right supplies and safety precautions, you can use screen printing kits or etching creams for DIY projects. Always work in a well-ventilated area and follow product instructions carefully. For beginners, consider starting with a screen printing kit or etch cream for small-scale projects.
How do I avoid common problems like ink peeling or blurry designs?
Thoroughly clean the glass before printing, use compatible inks, and ensure proper curing. Testing your process on a sample piece can help identify issues before starting a full batch. For more troubleshooting tips, refer to common mistakes in glass printing.
Is glass printing safe for food and beverage containers?
When using food-safe inks and following recommended curing processes, printed glassware can be safe for food and beverage use. Always verify ink certifications and consult suppliers for compliance information.
Conclusion
Understanding the glass printing process explained step by step empowers you to create lasting, vibrant designs on a variety of glass products. By mastering surface preparation, choosing the right technique, and following best practices, you can achieve professional results whether you’re working on a single piece or a large production run. Explore further resources and experiment with different methods to find the best fit for your creative or business needs.