
Creating durable, vibrant prints on glass requires more than just the right ink or design—it depends on mastering adhesion techniques for glass printing. Glass is a non-porous, smooth material, making it notoriously difficult for inks, coatings, or decals to stick without peeling, fading, or washing away over time. Whether you’re producing decorative bottles, signage, or high-tech device panels, understanding the science and best practices behind strong adhesion is essential for professional, lasting results.
This guide explores the most effective strategies for achieving robust bonds between print media and glass surfaces. We’ll cover surface preparation, ink and coating choices, application methods, and post-print treatments, providing practical advice for both beginners and experienced printers. For those interested in troubleshooting or expanding their knowledge, resources like common mistakes in glass printing can offer valuable insights into avoiding pitfalls that compromise adhesion.
Understanding the Challenges of Printing on Glass
Glass presents unique challenges for printing due to its slick, non-absorbent surface. Unlike porous materials such as paper or fabric, glass does not allow inks or adhesives to penetrate, making it prone to issues like flaking, smudging, or poor color retention. Environmental factors—such as humidity, temperature changes, and exposure to cleaning chemicals—can further weaken the bond between the print and the glass.
To overcome these obstacles, printers must use specialized adhesion methods for glass surfaces. These methods involve a combination of mechanical and chemical strategies to ensure that the printed layer forms a strong, lasting connection with the glass substrate.
Surface Preparation: The Foundation of Strong Bonds
Effective surface preparation is the cornerstone of successful glass printing. Even the best inks or adhesives will fail if the glass is dirty, oily, or covered in microscopic residues. Here’s how to prepare glass for optimal adhesion:
- Cleaning: Begin by thoroughly washing the glass with a suitable detergent to remove dust, grease, and fingerprints. Rinse with distilled water to avoid mineral deposits.
- Degreasing: Use isopropyl alcohol or acetone to eliminate any remaining oils. Allow the surface to air dry completely.
- Abrasion: For especially smooth glass, lightly abrading the surface with fine-grit sandpaper or a scouring pad can increase surface area and improve mechanical grip.
- Priming: Some applications benefit from a chemical primer designed to promote adhesion between glass and ink. These primers create a molecular bridge, enhancing the bond strength.
Proper preparation not only improves print quality but also extends the life of the finished product, making it more resistant to wear and environmental stress.
Choosing the Right Inks and Coatings for Glass Surfaces
The selection of ink or coating plays a crucial role in the success of any glass printing project. Not all inks are formulated for non-porous surfaces, so it’s important to choose products specifically designed for glass. Here are some popular options:
- Ceramic Inks: These are fused to the glass at high temperatures, creating a permanent, dishwasher-safe finish. Ideal for drinkware and industrial applications.
- UV-Curable Inks: Cured instantly with ultraviolet light, these inks offer excellent adhesion and vibrant colors. They are commonly used for decorative and promotional items.
- Solvent-Based Inks: These inks chemically bond to the glass, providing durability and resistance to chemicals and abrasion.
- Epoxy-Based Coatings: Used as either a primer or a protective topcoat, epoxies can enhance both adhesion and longevity.
Matching the ink or coating to the intended use of the glass item—whether it will be washed, exposed to sunlight, or handled frequently—ensures the best results. For more on advanced applications, see smart device glass printing for insights into precision coatings used in electronics and technology.
Application Methods: Maximizing Adhesion in Practice
How the ink or coating is applied can significantly affect the strength of the bond. Here are some proven adhesion techniques for glass printing that maximize durability:
- Screen Printing: This method uses a mesh stencil to apply thick layers of ink, which can be cured or baked for enhanced adhesion. It’s widely used for bottles, jars, and glassware.
- Pad Printing: Ideal for irregular or curved surfaces, pad printing transfers ink via a silicone pad, ensuring even coverage and strong bonds.
- Digital Printing: Modern digital printers can jet UV-curable inks directly onto glass, offering flexibility and high resolution. Proper surface prep and curing are essential for lasting results.
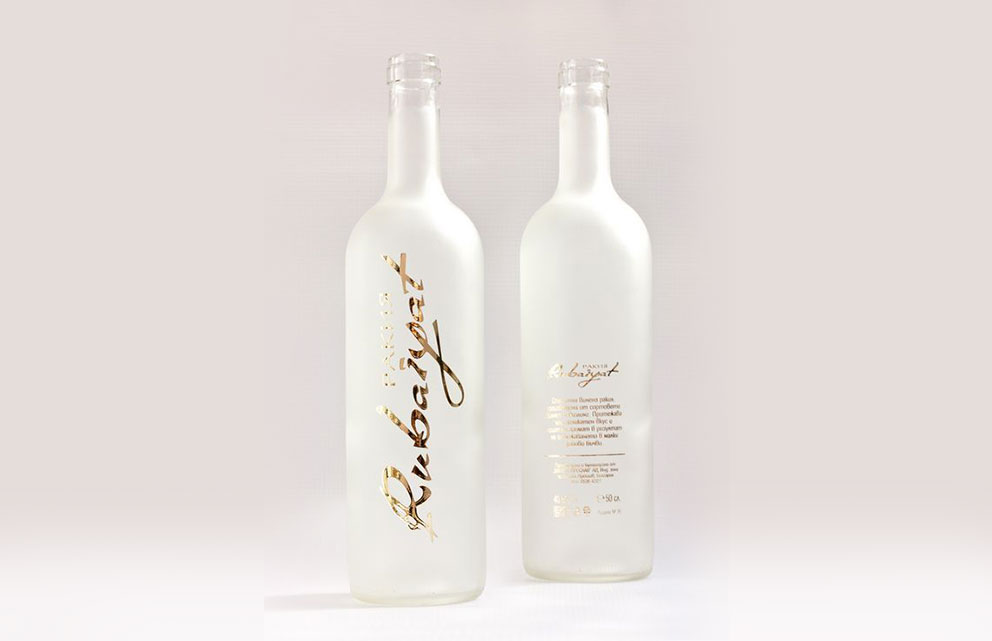
- Foil Stamping and Etching: Techniques like hot foil stamping or chemical etching create tactile, permanent designs by physically altering the glass surface, often used for luxury packaging or branding.
Each method has its strengths and is suited to different project requirements. For a deeper dive into process selection, advantages of screen printing on glass highlights why this classic method remains popular for durable, bold prints.
Post-Printing Treatments for Enhanced Durability
After printing, additional steps can further strengthen the bond and protect the design. These post-printing treatments are especially important for items exposed to frequent handling, washing, or outdoor conditions:
- Curing: Heat curing or UV curing ensures that inks fully crosslink with the glass, maximizing adhesion and chemical resistance.
- Protective Coatings: Applying a clear topcoat or varnish can shield the print from abrasion, moisture, and UV light.
- Annealing: For glassware and industrial products, annealing (controlled cooling) relieves internal stresses and improves long-term durability.
Proper post-printing care not only preserves the appearance of the print but also maintains its functional integrity over time.
Common Issues and Troubleshooting Adhesion Problems
Even with the best preparation and materials, adhesion failures can occur. Typical problems include ink peeling, smudging, or fading. Here are some troubleshooting tips:
- Double-check that the glass was thoroughly cleaned and degreased before printing.
- Ensure the ink or coating is compatible with glass and has not expired.
- Verify that curing times and temperatures match the manufacturer’s recommendations.
- Consider using a primer or adhesion promoter if prints are consistently failing.
For more troubleshooting advice, resources like industrial glass printing uses can provide insights into large-scale solutions and advanced materials.
Expert Insights and Further Reading
Staying updated on the latest advancements in adhesion techniques for glass printing can help you achieve even better results. Industry blogs and technical guides, such as this comprehensive overview of glass printing processes, offer in-depth explanations of new materials, equipment, and best practices. Exploring topics like colored glass decoration methods can also inspire creative approaches to both functional and decorative projects.
Frequently Asked Questions
What is the most important step for ensuring strong adhesion on glass?
The most critical step is thorough surface preparation. Cleaning, degreasing, and, if necessary, abrading the glass ensures that inks and coatings have the best possible surface to bond with.
Which inks are best for printing on glass?
Ceramic inks, UV-curable inks, and solvent-based inks are all excellent choices for glass. The best option depends on the intended use, required durability, and available equipment.
How can I prevent prints from peeling or fading?
Use inks and coatings designed specifically for glass, follow proper curing procedures, and consider applying a protective topcoat. Avoid handling or washing the glass until the print is fully cured.